
Purpose
This menu item is used to reconcile your bank statements with entries within mydaEs. You can tick off exactly which of your transactions you can see on your bank statement, and all those left will come up to be matched/cleared next time.
How to use
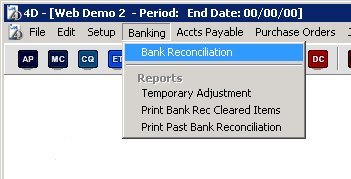
To reconcile your bank, select ‘Bank Reconciliation’ from the ‘Banking’ menu as shown below.
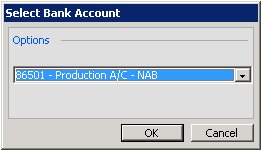
You will then be presented with the following screen from which you can select which bank you will be reconciling today.
You will then see the reconciliation screen itself.
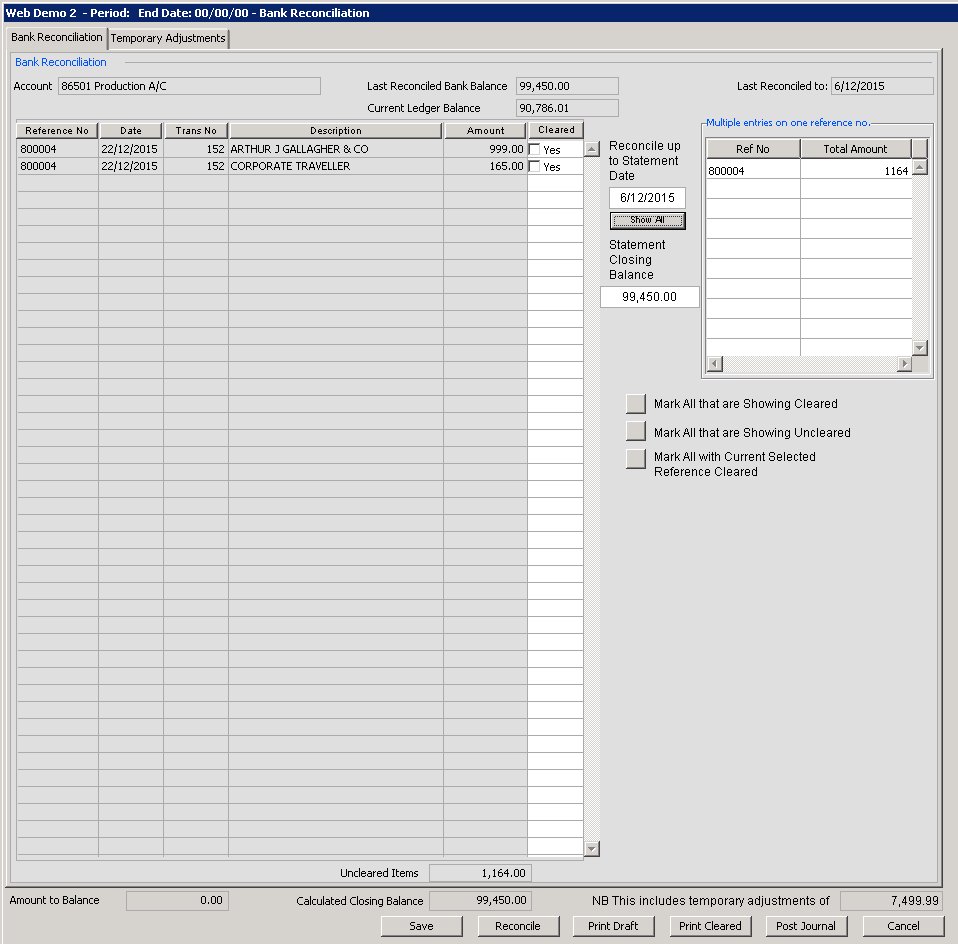
This will show you a list of all of your previously unmatched bank entries up until the date shown in the statement date field as shown below.

You can of course press the ‘Show All’ button to see all unmatched entries regardless of date.
You should enter in the statement date shown on the bank statement you are reconciling, as well as that statements closing balance that you need to match to.
You can then walk through your bank statement, and attempt to find the matching entry in mydaEs. Tick them off one by one until the ‘Calculated closing balance’ shown at the bottom of the screen matches your statements closing balance. You are then ready to press the ‘Reconcile’ button. The ‘Amount to balance’ field at the bottom of the screen shows the difference between the ‘Calculated closing balance’ and the ‘Statement closing balance’ so you always know how much else you need to match before you can reconcile.
When you press the ‘reconcile’ button, all the cleared entries are saved so that they wont come up on your next reconciliation and a number of reports will print out showing what was cleared and not yet cleared etc.
As multiple entries using the same reference number are common, you can see the total of these in the top right hand corner of the screen. If you then want to match them all off at the onetime, you can just select one of them, and then press the ‘Mark All with Current Selected Reference Cleared’ button.
You can also click on the column headers as usual to sort the columns in any order you require, as well as marking everything onscreen as cleared or not cleared by using the ‘Mark All that are showing Cleared’ or ‘Mark All that are showing uncleared’ buttons.
Of course, reconciling your bank statement isnt always that easy. You will often find entries on your bank statement that you have thus far forgotten to enter into mydaEs. You can therefore choose to press the ‘Save’ button to save your progress, while you go back to the rest of mydaEs to enter in any missing entries. You can also choose to post a journal directly from the bank reconciliation screen to quickly create and post a journal that will effect the bank account.
When you press the ‘Post Journal’ button you will see the following screen.
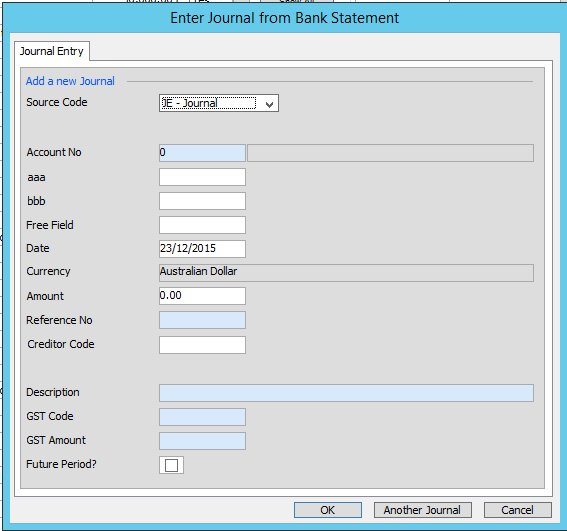
From here you can enter in the account number/description/reference etc of a one line journal. The other side of the journal will be automatically created to post to your bank account. Once you press ‘OK’ or ‘Another Journal’, the journal will be created and immediately posted and therefore be available on the bank reconciliation screen for matching.
You will occasionally find entries on your bank statement that you are just not ready to enter into mydaEs. In this situation you can use the ‘Temporary Adjustments’ tab.
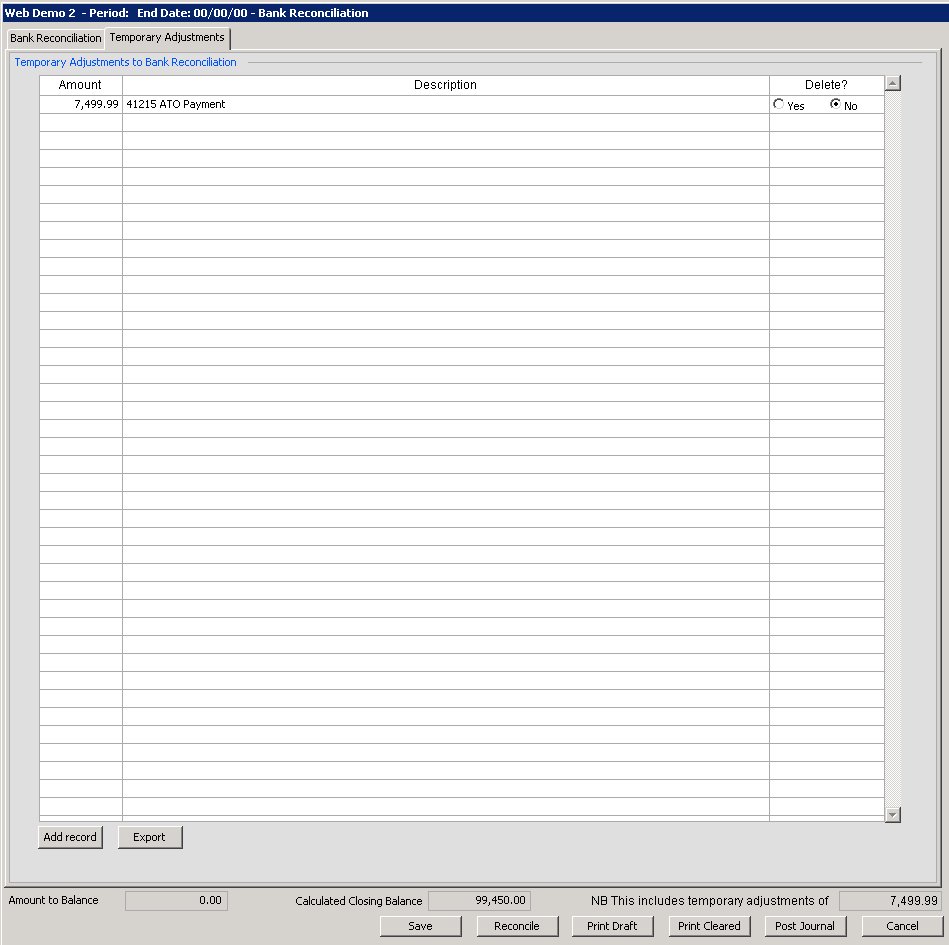
You can press the ‘Add Record’ button to add in a new temporary entry, that will remain in place until the entry has been properly created in mydaEs. This will allow you to reconcile your bank in the meantime. Once the entry has been created in mydaEs, just mark the temporary adjustment as deleted.
You can also choose to ‘Export’ all of your temporary adjustments should you wish to do further analysis in Excel.
Back on the first tab, at any time you can choose to press the ‘Print Draft’ button to print a draft copy of your reconciliation reports which would be what they would look like should you reconcile at that time. You can also ‘Print Cleared’ to print all the previously cleared items.