
To file a large number of attachments to your petty cash after they have been entered, select the ‘Filing’ option from the ‘Petty Cash’ menu.
If you have any files in your Petty Cash Filing in-tray, the following form will be displayed.
NB The location of the Petty Cash Filing in-tray can be set in the ‘Project Setup’ – please click here for more information.
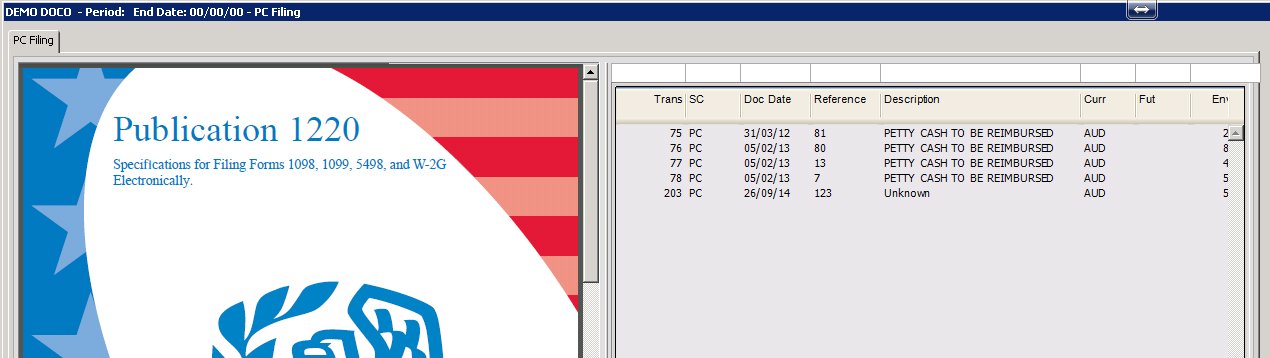
On the left hand side, you will see the first PDF in your in-tray. On the right hand side you will see a listing of all petty cash/debit card entries in Moneypenny, showing the transaction numbers, source codes, document dates, reference, description, currency and whether it is a future period PC. It also displayed the amount of the envelope.
You can re-size this screen to allow for more room for the PDF or more room for your data entry, by just placing your mouse between the two sides of the screen as shown below, until your cursor changes to 2 arrows. Then just click and drag it to the left or right. Your change will be remembered the next time you open this screen.

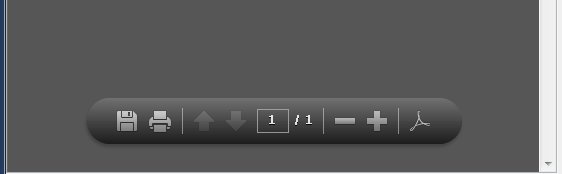
You can also hover your mouse over the bottom of the PDF (depending on which version of Adobe you have installed on your machine) to see the Adobe toolbars that will allow you to zoom in/out and change pages etc.
Just before the PDF is displayed, Moneypenny processes it to determine if the document needs to be split. If you have batch scanned multiple documents together and separated them with blank pages, Moneypenny will strip out the blank pages and present you with one document at a time, which may have multiple pages (depending on where you inserted the blank pages). If Moneypenny does not locate any blank pages, you will be asked whether you want to split the document into single pages or not. You will then be only shown the first page on the left hand side of the screen.
The column headings are also sort buttons, which will sort the values below by that order. Above the column headings are white fields where you can enter in text and the entries below will be reduced to only show those that matched what you typed.
Locate the transaction that matches the PDF onscreen, highlight it and then press the ‘File’ button at the bottom of the screen. Should you not wish to process the file presented to you first, just press the ‘Skip PDF’ button to push it to the bottom of the pile.