
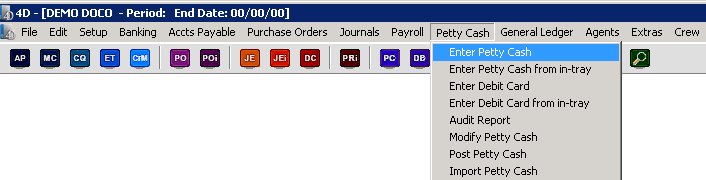
To enter in a new petty cash entry, please select ‘Enter Petty Cash’ from the ‘Petty Cash’ menu.
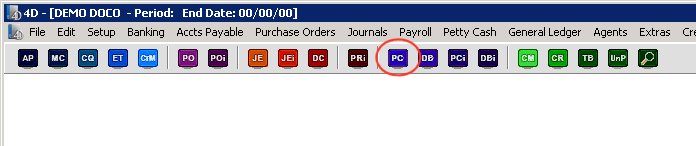
You can also open this form from the following toolbar icon.
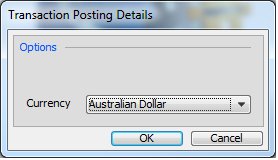
This will firstly open the currency selection screen, where you can select in which currency this PC will be entered in.
If batches are in use, you will see
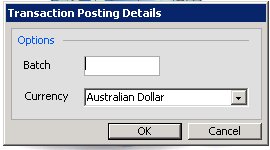
From here you can select which batch this transaction will be linked with. For more information on the behaviour of the batch field please click here
The petty cash entry screen will now display as shown below.

Please click on the image to view it full screen, then the back button to return.
Above the grid are several fields that relate to the petty cash transaction as a whole, a creditor/vendor code, a reference and a description, the date, and a tick box to select whether the PC should only be included in the ledger after the next period reset. The transaction number and currency information is shown in the top right hand corner as well.
When you are issuing a float to someone, choose the creditor/vendor code for the float holder. Please note this creditor/vendor will need a Petty Cash Account number assigned to them in their creditors/vendors master file. Then in the cash box enter the amount of the float that you are issuing. You will then see in the grid an entry automatically created by mydaEs debiting the individuals nominated float code and crediting the custodians code.
When the individual acquits the float, enter the amount in the envelope amount field and any reimbursement amount in the cash amount field. You will then see entries created in the grid to debit the expenses, credit the individual float with the envelope amount and then debit the individual float with the reimbursement amount and credit the custodians code.
You can choose to issue an invoice if you are not re-imbursing from a custodians tin but reimbursing to the individuals personal bank account or expense card. Just select ‘Issue Invoice’ and then enter the amount to be refunded. At the time of posting this petty cash entry an invoice will be created in the AP menu, for the amount to be reimbursed. This will need to be posted in order for it to be available for electronic transfer.
As usual any fields shown in blue are mandatory, and the form cannot be saved until text has been entered in these fields.
Then in the grid, enter in all the lines of your PC. When you finish the data entry of your line, just keep pressing tab to move onto the next row.
The columns shown onscreen will change depending on the requirements in your project. You may see a location and/or set field. There can also be a free field and 1099 code field as well. If GST or VAT has been selected for this currency, you will also see a GST/VAT Code field as well as the money fields which change to display Net/GST(VAT)/Gross rather than just an amount field. Most of these fields have look-up forms behind them to assist your data entry. You can just type in the start of what needs to be entered and tab out of the field to either bring up the look-up screen to assist you during data entry.
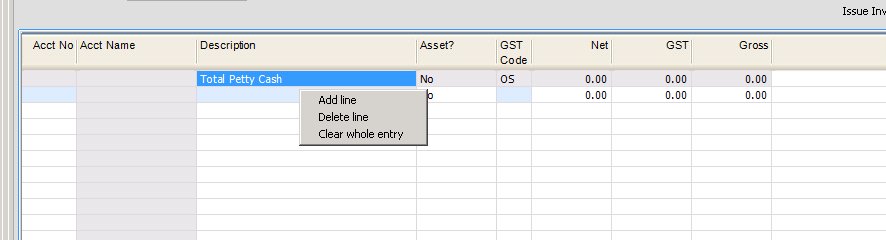
You can right click any line in the grid to bring up 3 extra options to either add in another line, delete the current line or clear all entries in the grid to start again.
At the bottom of the screen you can press the ‘Find’ button to bring up the ‘Find Transactions’ report or press the ‘COA’ button to bring up the chart of accounts look-up screen (which can be turned off for a particular user in the ‘Users’ setup menu). For more information on the behaviour of the COA button click here. For more information on the users setup menu click here
At the top of the screen is an ‘Attachments’ tab, where you can manually link documents to this journal. The documents are then saved in mydaEs for viewing/retrieval later, rather than keeping paper files.
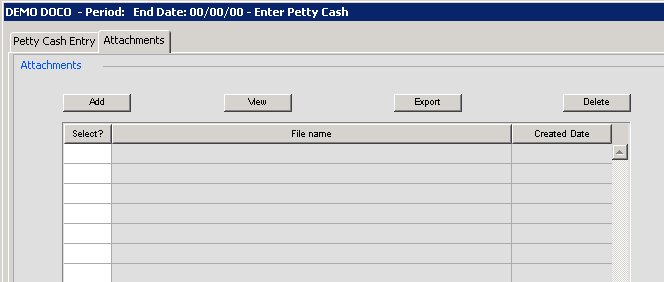
You can press the add button and then locate the document/s you wish to attach. You can also drag and drop the files direct from ‘Computer’ on your PC or ‘Finder’ on your MAC. You can also choose to then view/export or delete the attachments you have imported.