
You can access the general setup options for Moneypenny under Setup > Project Setup as below.
 Once opened, you will notice these settings are split into several sections to make navigation easier.
General
The general tab as we can see below, contains a large array of settings for how Moneypenny will work on a day to day basis.

Company Details
The General tab contains the contact information of the production company which will be shown on various reports/government exports etc. These tags can also be used in various email templates.
You can also pick your default currency from here, based on currencies entered into Setup > Currency.
Default Accounts
Under the ‘Default Accounts’ heading, you can select the account numbers used for your clearing accounts, as well as enter in your next PO number.
General Options
Under the general options heading contains a large number of options that are self explanatory. Please contact your Moneypenny support representative for further details on any option.
Logo
The next tab to explore is the logo tab. You can import your projects logo in this tab and it will appear in the top-left corner of your reports. To import logo, simply open the logo in a graphics application, copy it to the clipboard, then place the cursor inside the large white field and paste the graphic, either by selecting ‘Paste’ from the ‘Edit’ menu or using your operating systems shortcuts i.e. Ctrl-v (PCs), Command-v (Macs).
![]()
Approval Levels
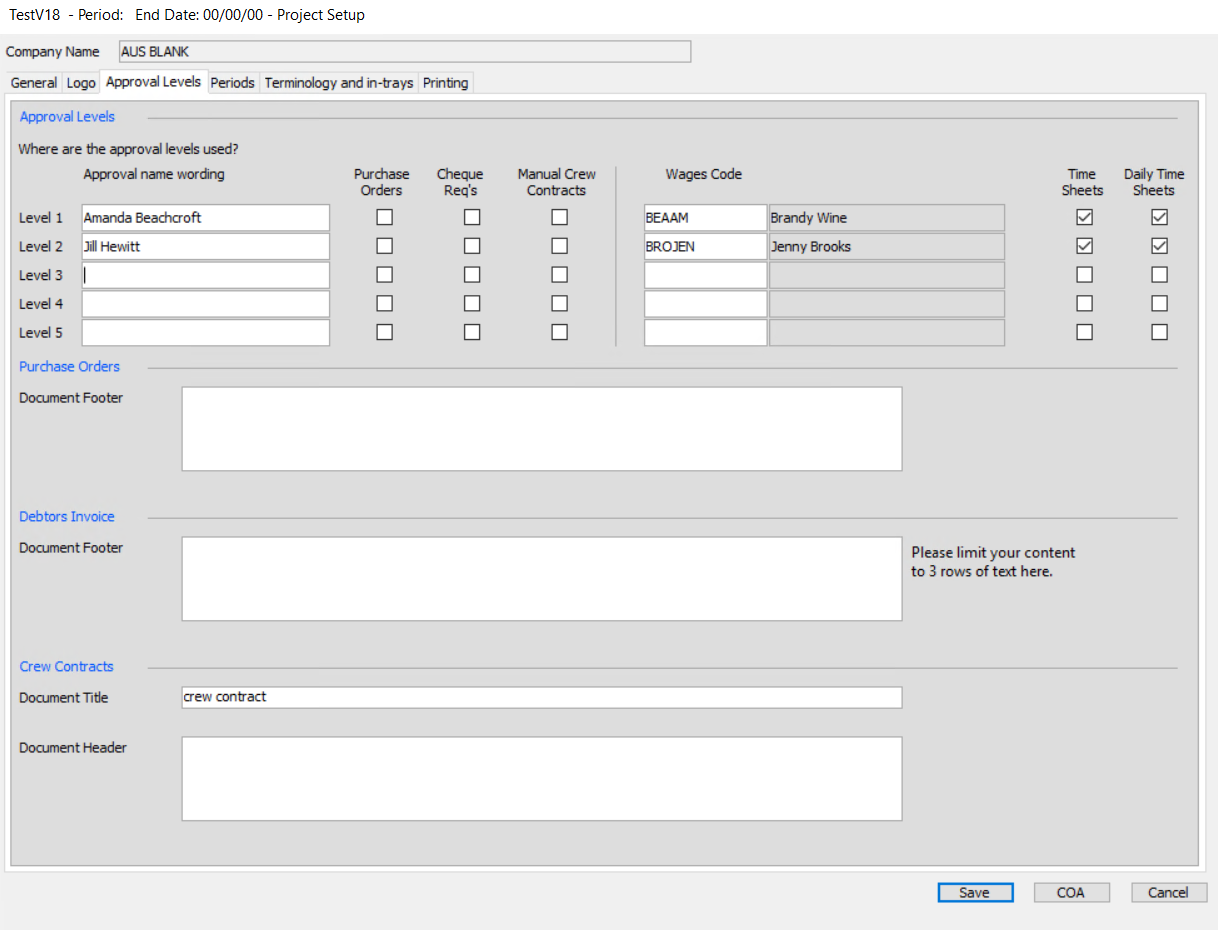
The ‘Approvals Levels’ tab is broken up into several sections
Approval Levels
If using generated purchase orders, you can setup five approval levels in this tab. These approval levels will be printed on your POs, Cheque Requisitions or Manual Crew Contracts.
Purchase Orders
You can add a document footer that will print out on the bottom of all your purchase orders. This can be used to include any additional information to the suppliers.
Debtors Invoice
Any invoices created through the Accounts Receivable module can be given a footer that will print on the bottom of your invoices. This can be used to provide additional payment instructions to your clients.
Crew Contracts
If using the Crew Contract feature through the Master Files or Online Moneypenny you can add additional information to the footer, and adjust the title of the document that will be sent.
Periods
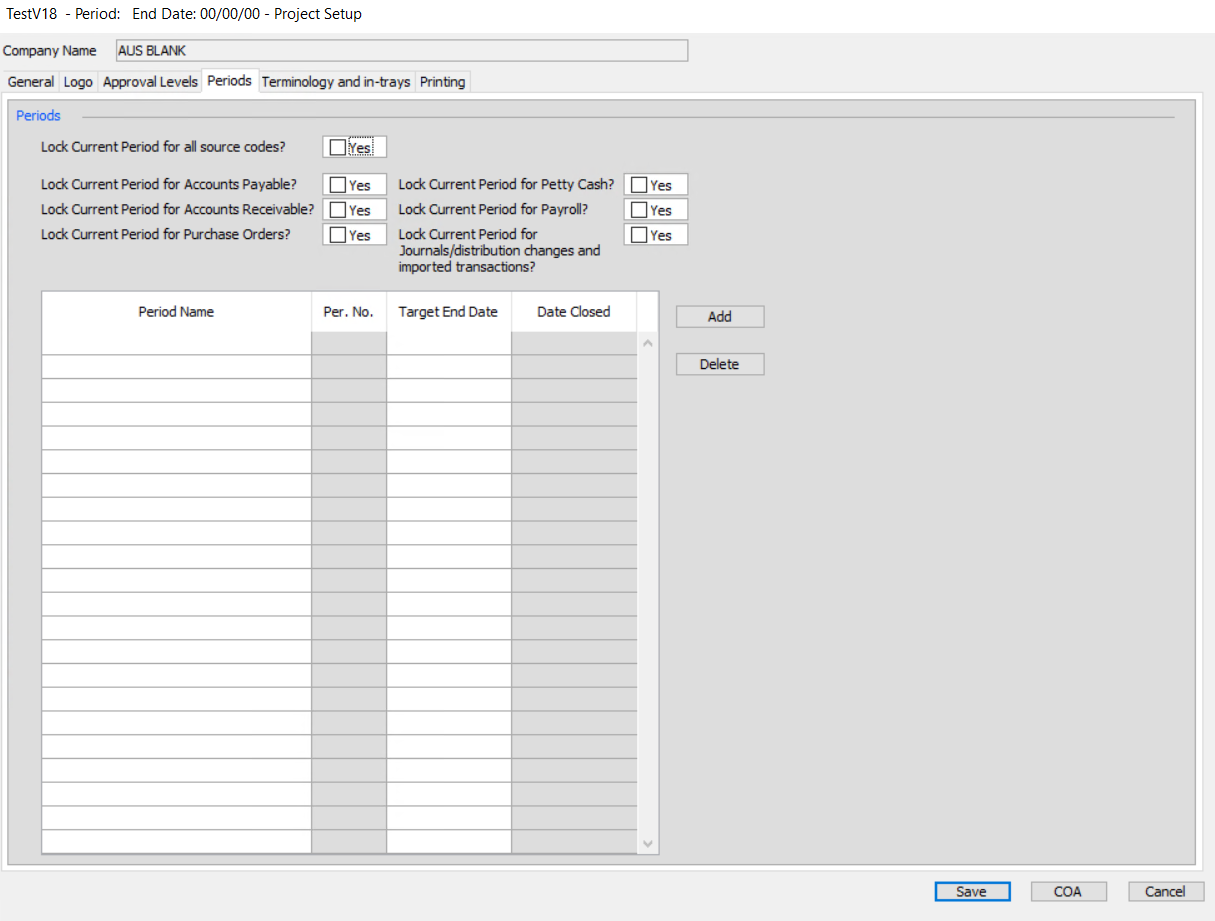
The periods tab allow you to enter in and name your periods as well as select the proposed end date of the period. Periods will be automatically created when you close a period as well if necessary.
Terminology and in-trays
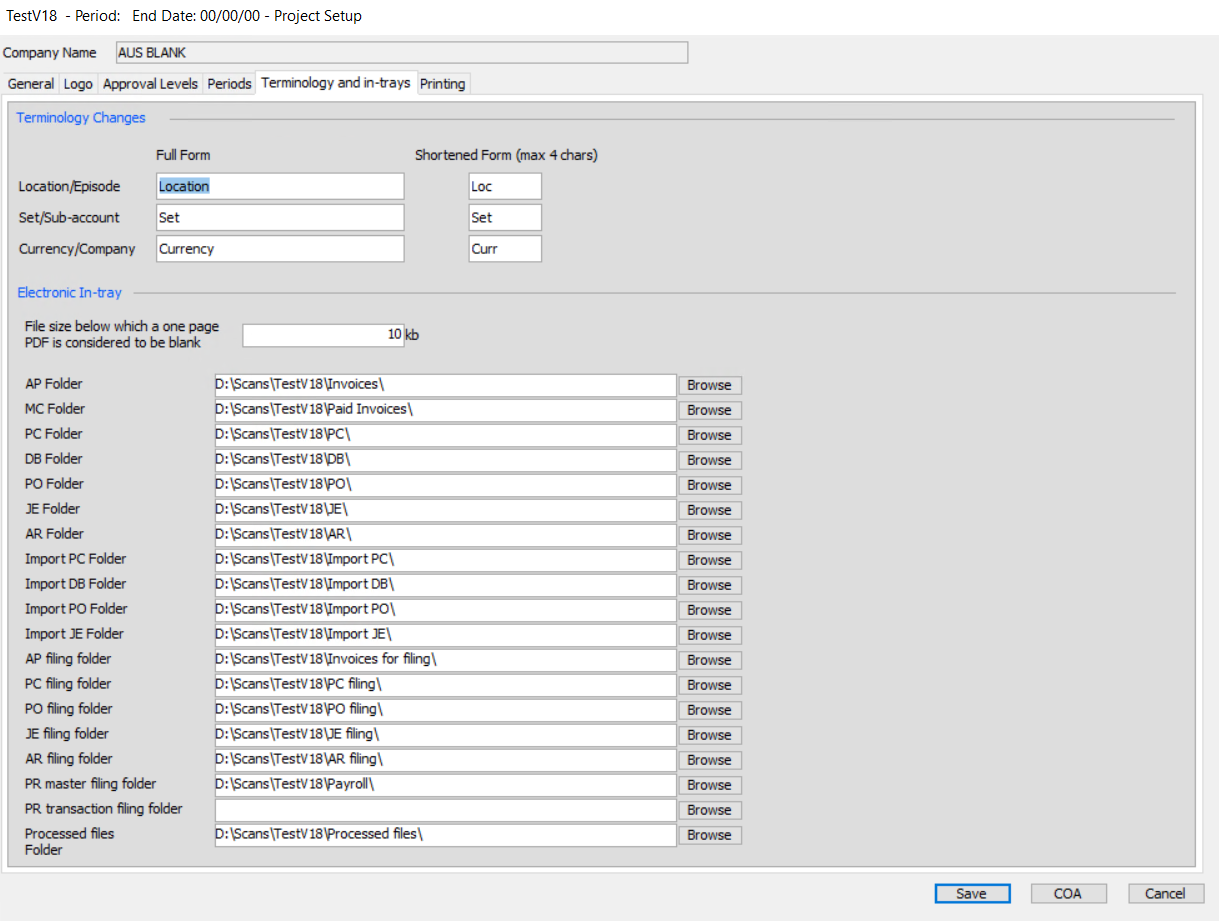
Terminology Changes
The terminology section allows you to ‘soft title’ your fields within Moneypenny. All other onscreen forms within Moneypenny will match the words entered here. This allows you to call a location an episode or any other text you choose.
Electronic In-Trays
You can also choose the location of your electronic in-trays on this screen. Just press the ‘browse’ button then navigate to the folders on your computer where you are storing your documents to upload into mydaEs.
As every scanner is different, Moneypenny also needs to know how large your scanner prints a blank sheet of paper, so that it can properly separate your documents.
Printing
The last tab contains printing related settings.
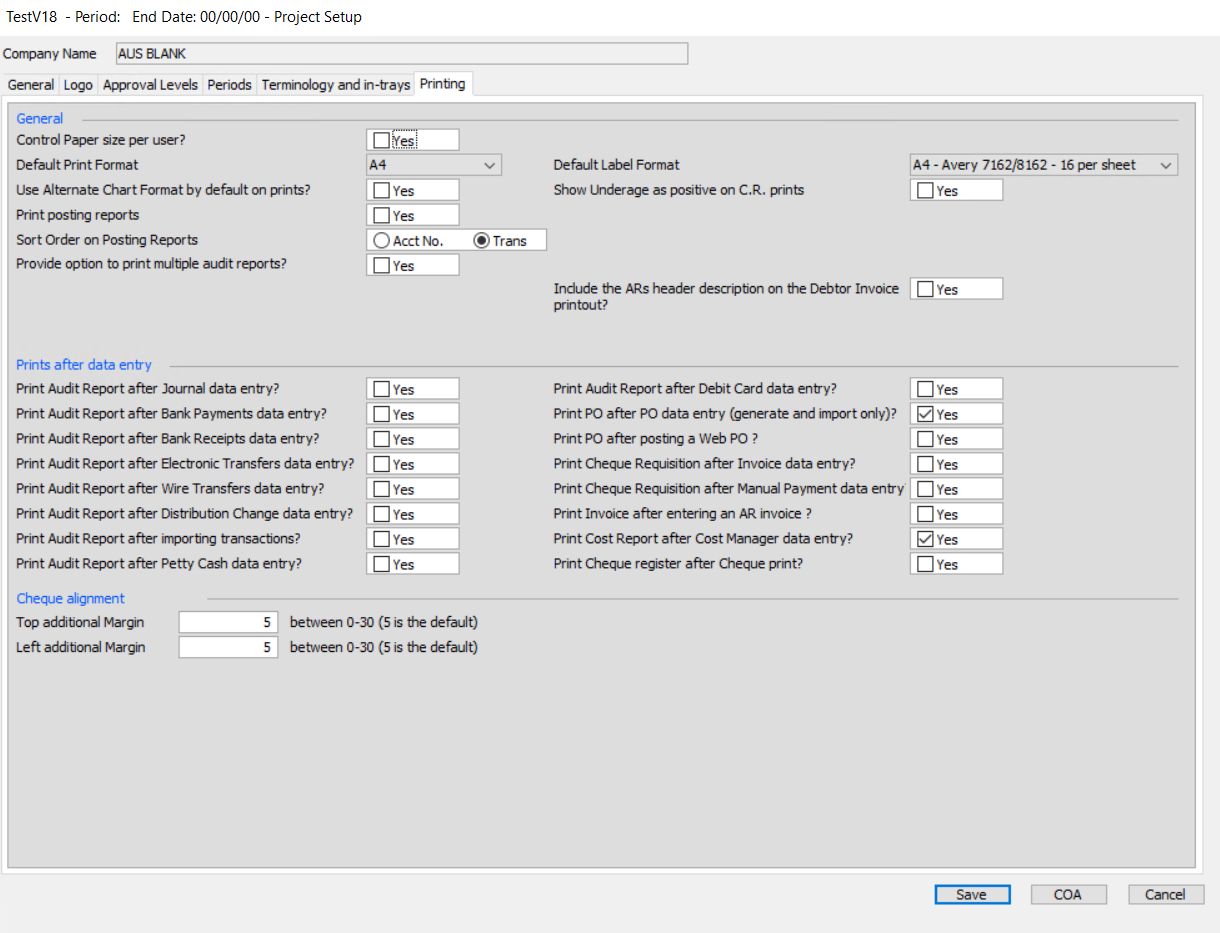
General
From here you can select whether you are printing to A4 or US Letter paper formats, choose the default sort order for certain reports or choose to print posting reports every time you post transactions. You can also choose to include or not, any header description added to your POs on the purchase order printouts.
Prints after data entry
Under the ‘Prints after data entry’ heading you can choose whether to be asked whether you want to print after finishing each type of transaction.
Cheque Alignment
The check/cheque alignment options allows you to run test print runs of your checks/cheques to line them up perfectly. You can shift your checks/cheques 5 pixels to the top/bottom, left or right.