
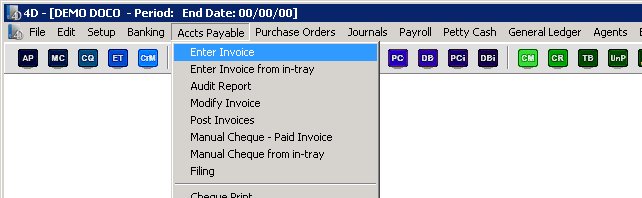
To enter a new invoice, select ‘Enter Invoice’ from the ‘Accounts Payable’ menu as shown below.
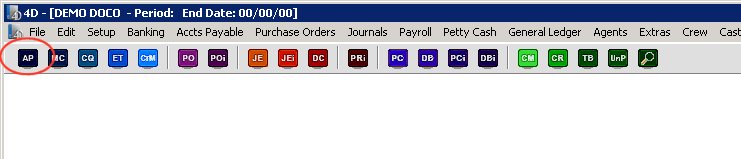
You can also open this form from the following toolbar icon.
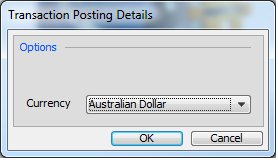
This will firstly open the currency selection screen, where you can select in which currency this invoice will be entered in.
If batches are in use, you will see

From here you can select which batch this transaction will be linked with. For more information on the behaviour of the batch field please click here
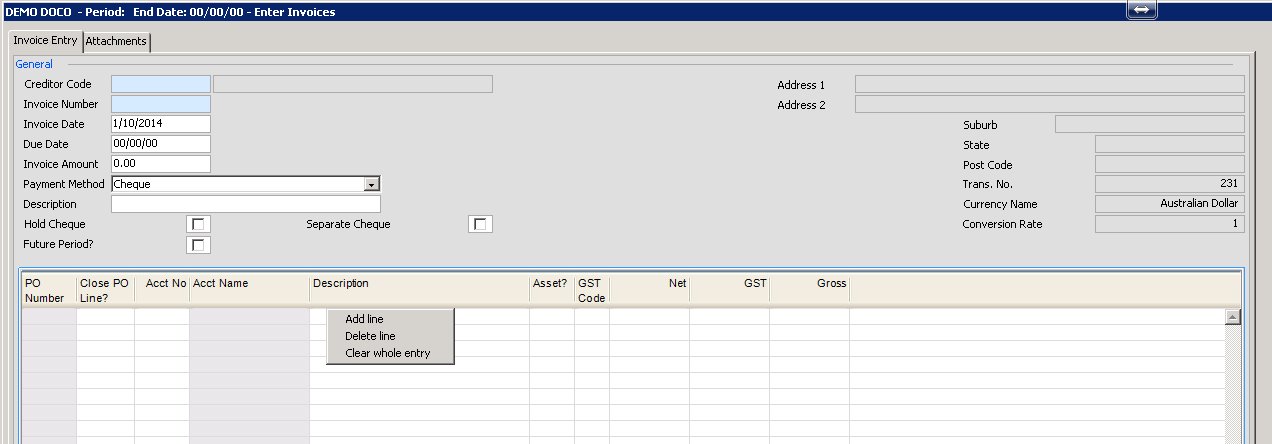
The invoice entry screen will now display as shown below.
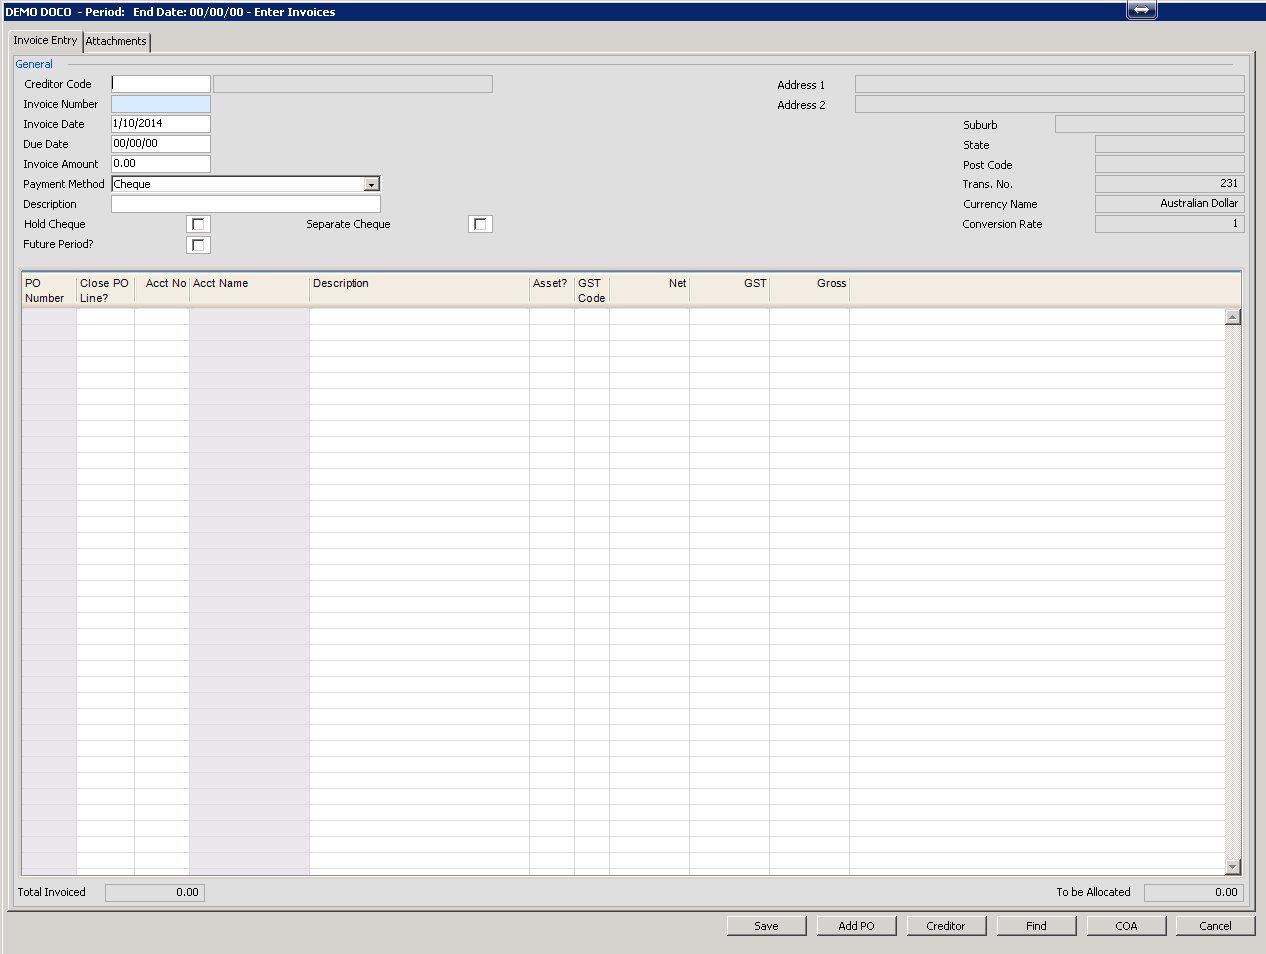
Please click on the image to view it full screen, then the back button to return.
Above the grid are several fields that relate to the invoice as a whole, a creditor/vendor code, an invoice number, the invoice date, a description, the due date should you wish to manage payment of this invoice by due date, the total amount of the invoice (which must match all the individual lines in the invoice), the payment method either by check/cheque or electronic transfer, whether the invoice by default should be held on the payment screen rather than paid by default, whether this invoice should be paid separately to other invoices for this same creditor/vendor and a tick box to select whether the invoice should only be included in the ledger after the next period reset. The transaction number and currency information is shown in the top right hand corner as well.
Once the creditor/vendor code is selected, if there are any open commitments for this creditor/vendor you will see the following screen.

From here you can select which if any of these open commitments you would like to use on this invoice. You can also press the ‘modify PO’ button to edit this PO. Please click here for more information on the Modify PO screen.
If you select no commitments, or if there are no commitments on this creditor/vendor code, up to 3 lines for this invoice will be entered depending on how you setup this creditor/vendors masterfile in the ‘Default Codes’ section. Please click here for more information on the creditors/vendors master file.
As usual any fields shown in blue are mandatory, and the form cannot be saved until text has been entered in these fields.
Then in the grid, enter in all the lines of your invoice. When you finish the data entry of your line, just keep pressing tab to move onto the next row.
The columns shown onscreen will change depending on the requirements in your project. You may see a creditor or vendor field to enter in the code for the related creditor/vendor. You may see a location and/or set field. There can also be a free field and 1099 code field as well. If GST or VAT has been selected for this currency, you will also see a GST/VAT Code field as well as the money fields which change to display Net/GST(VAT)/Gross rather than just an amount field. Most of these fields have look-up forms behind them to assist your data entry. You can just type in the start of what needs to be entered and tab out of the field to either bring up the look-up screen to assist you during data entry. If the invoice line comes from a purchase order, you can choose to ‘Close PO line’ during data entry. Of course if the invoice overuses the PO, it will be closed anyway when the invoice is saved.
You can right click any line in the grid to bring up 3 extra options to either add in another line, delete the current line or clear all entries in the grid to start again.
At the bottom of the screen you can press the ‘Find’ button to bring up the ‘Find Transactions’ report or press the ‘COA’ button to bring up the chart of accounts look-up screen (which can be turned off for a particular user in the ‘Users’ setup menu). For more information on the behaviour of the COA button click here. For more information on the users setup menu click here
At the top of the screen is an ‘Attachments’ tab, where you can manually link documents to this invoice. The documents are then saved in mydaEs for viewing/retrieval later, rather than keeping paper files.
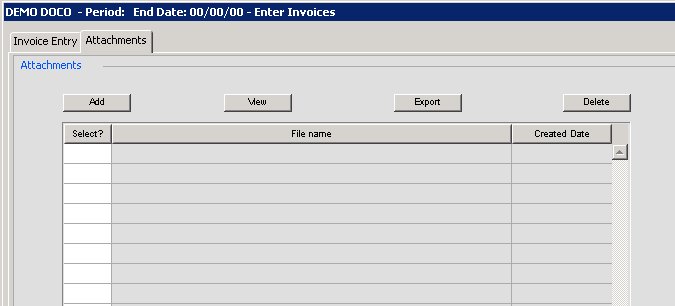
You can press the add button and then locate the document/s you wish to attach. You can also drag and drop the files direct from ‘Computer’ on your PC or ‘Finder’ on your MAC. You can also choose to then view/export or delete the attachments you have imported.