
The project administrator of Moneypenny has the ability to setup individual user logins and personalize which menu items are available for each user.
Setup / Modify users
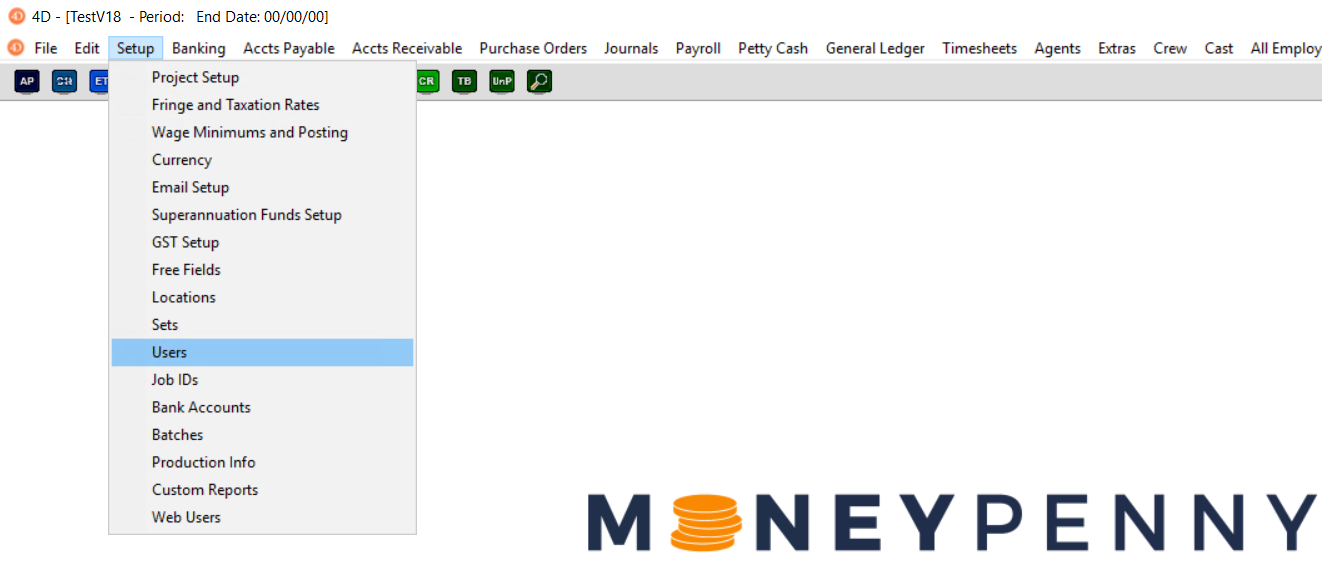
- Go to Setup > Users
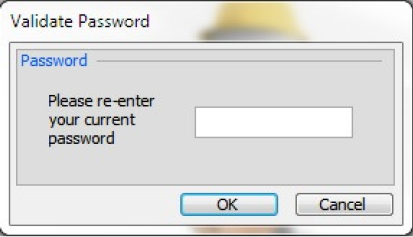
- Re-enter your current password and click enter.
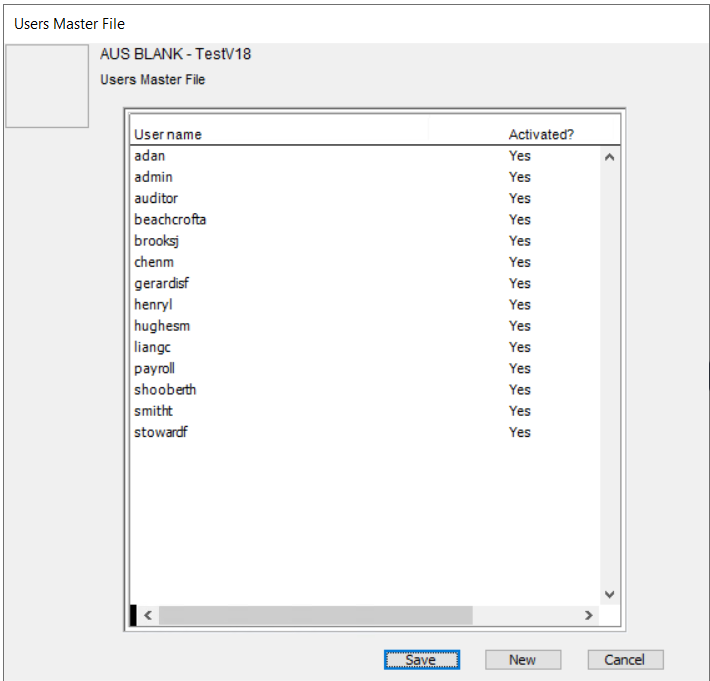
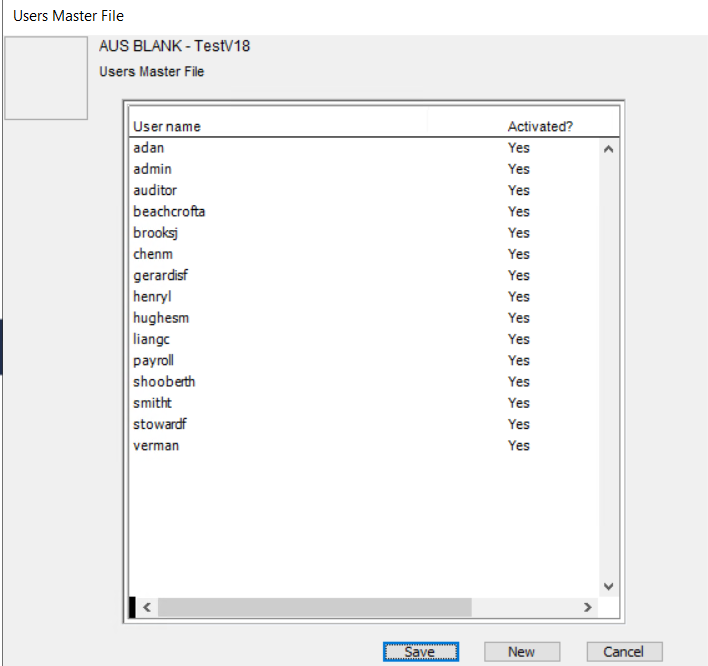
- You will then see a list of all current users. From this form you have the ability to create new users and edit current users.
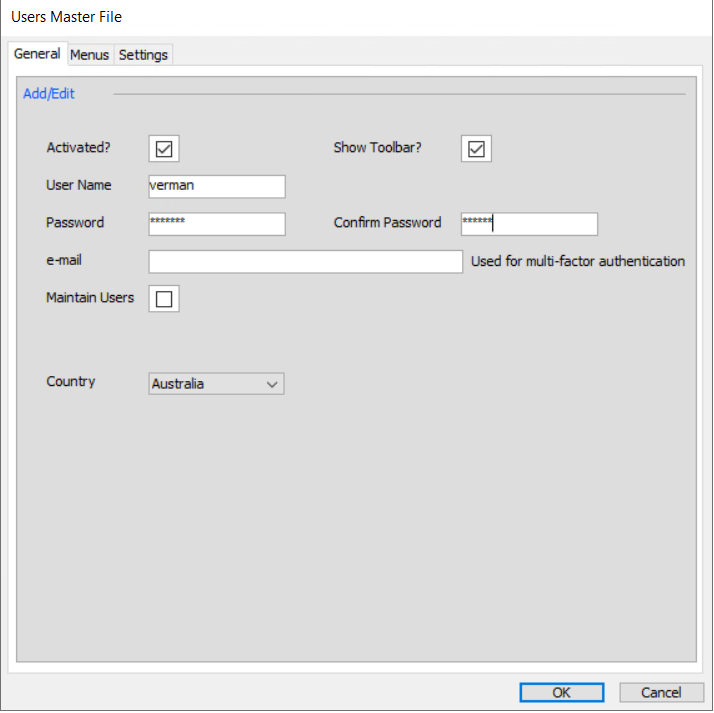
- To create a new user, click on the “New” button and the following screen appears
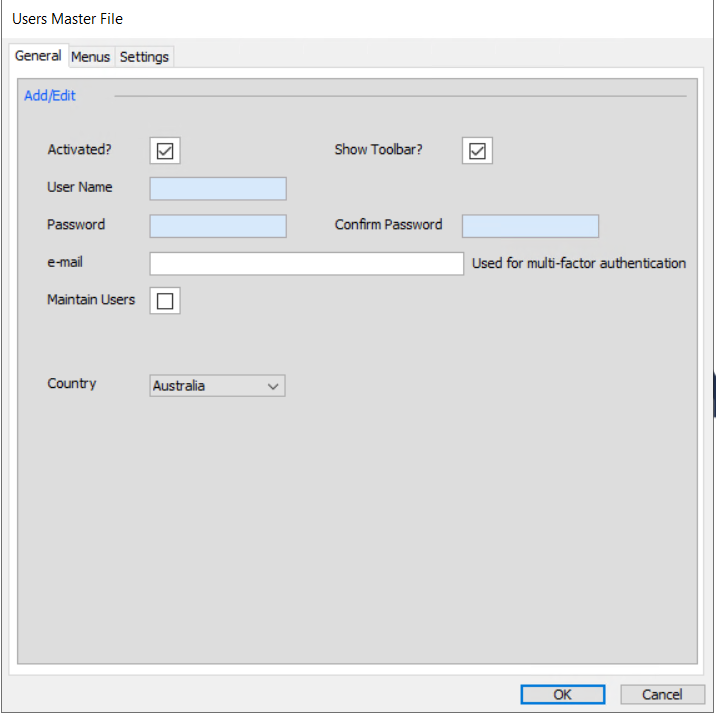
- Enter the new Username and Password. At this stage you can decide whether this user can see the users menu item in the Setup Menu by clicking the field “Maintain Users” (ie the menu item we are currently working through). This will enable them to maintain users and what menu items that they or others can access.
You can also choose whether the user can see the toolbars buttons which will give them shortcuts to some of our most heavily used features.
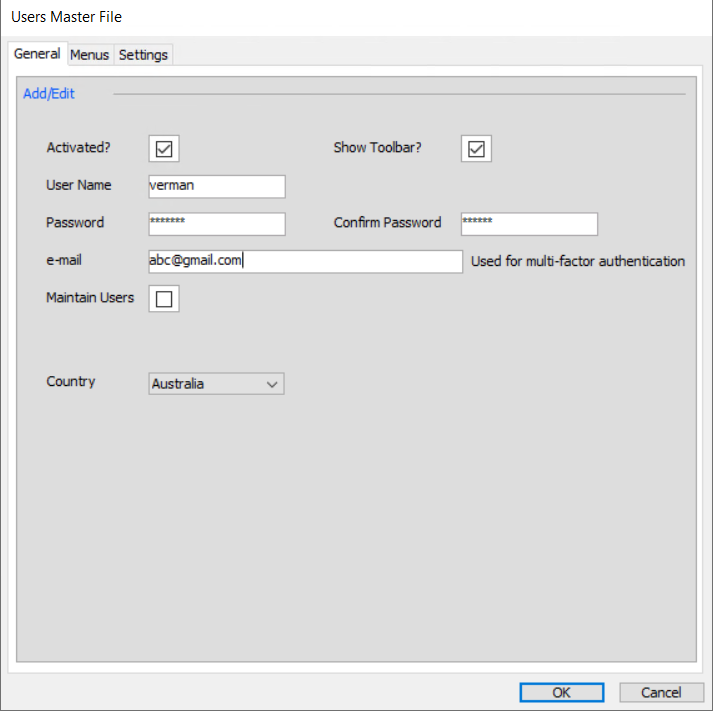
- Multi Factor Authentication Sign- On for Moneypenny. As multi-factor authentication is mandatory in some tax jurisdiction worldwide, we have introduced this into Moneypenny. Please note, this will not be setup on every project. To know more about how Multi Factor Authentication Sign-On works, click here.
Available Menus
The Menus Tab allows you to determine exactly which menus this new user can see.
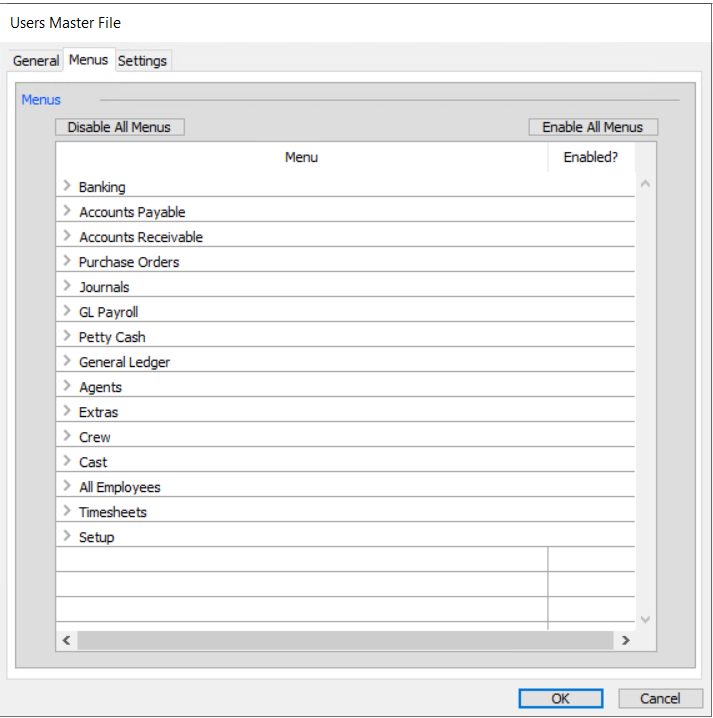
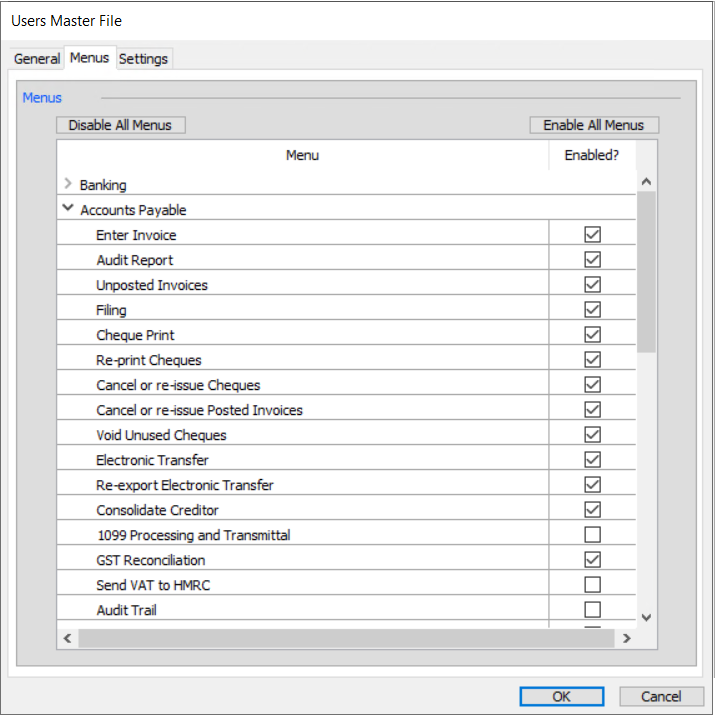
Some menu items will be selected for each new user by default, but you can change them as necessary. You can choose to enable or disable specific menu items by expanding the menu and ticking the field “Enabled” next to each item.
You can enable all menus for the user by clicking the button “Enable All Menus” or vice versa with the button “Disable All Menus”.
You can also enable all menu items within a menu by right clicking and selecting ‘Enable all in current menu’ or of course ‘disable all in current menu’.
Additional Settings
The Settings tab allows you to choose other selected options for this new user.
 Most of them should be self explanatory like enabling certain buttons on screens.You also have the ability to enable Single Sign on for your users. This saves your users having to enter in a username and password every time they open mydaEs. They will open Moneypenny then as the user who is currently logged onto their computer. To make this work though the username created in Moneypenny must match exactly the username on the computer e.g. if I log onto my computer every morning as Janinev, then if my Moneypenny username is also Janinev (not Janine or jvangemert) and the single sign-on feature is turned on, it will by-pass the logon screen every day.
Restrict Access
You can also enable restrictions so that the user can only access selected accounts, locations, currencies or Jobs. If you enable these options, new tabs will become available at the top of the screen.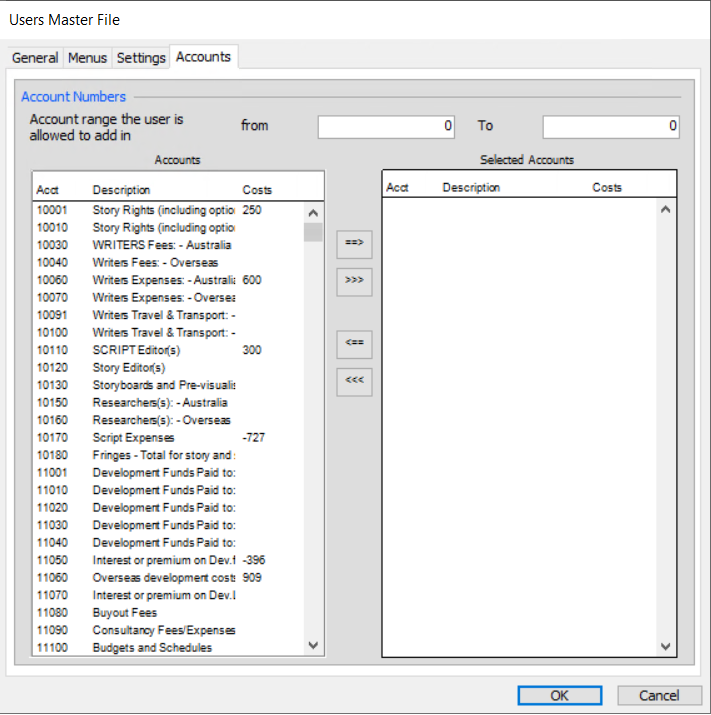
From this screen you can select account numbers from the left hand side, and move them across to the selected accounts box (right hand side) by either clicking ==> to move your range (or the left arrow on your keyboard), or else select >>> to allow this new user to access all accounts. You can also enter a different range of accounts at the top, that this user is allowed to create accounts in.
Save Changes
Once completed, click “OK” and then click the “Save” button. The new user will now appear in the list.
To edit the user, just double click on the name and you be able to change their menus etc. as shown above.