
You have been asked to provide an Art Department Cost Report. There are two ways in which you can do this in Moneypenny and save the settings so that you don’t have to go through this process each time you want to run this report….
Via Cost Manager/Cost Report
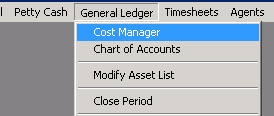
- Go to General Ledger>Cost Manager OR General Ledger>Reports> Cost Report
 or
or 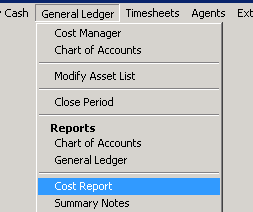
2. You will see the following alert. This is to remind you if you have created any new accounts in your COA that you will need to add these accounts to your default template and well as any other template you wish to create
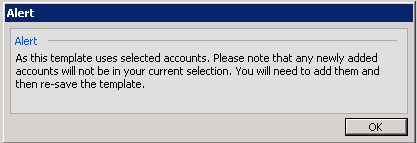
3. Click OK and the search dialog box for the Cost Manager/Cost Report will appear
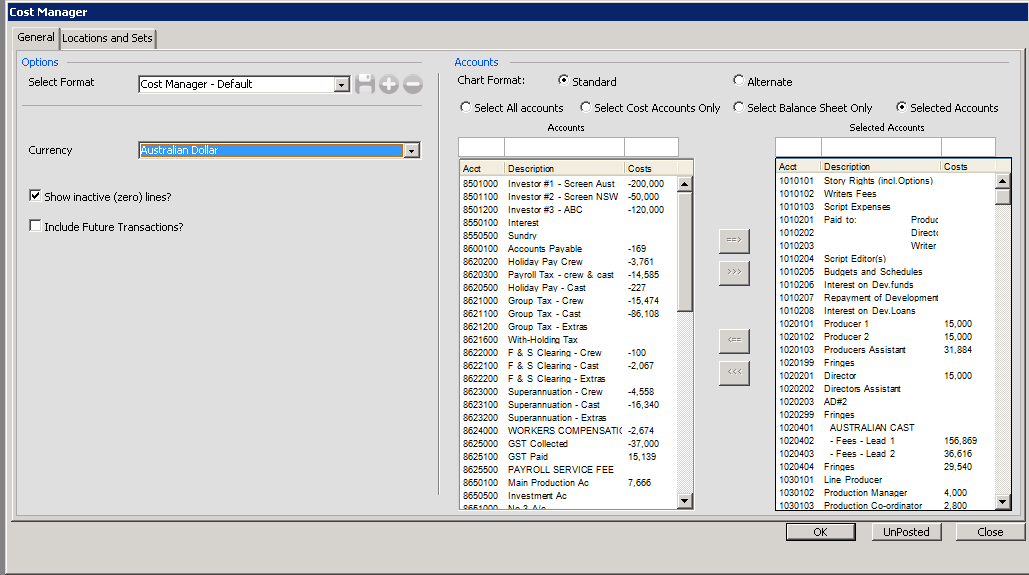
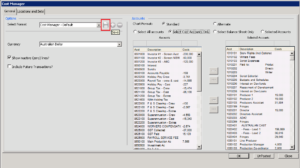
4. The next step will to select the accounts you want in your customise Cost Manager/Cost Report. You have four options:
- Select All Accounts
- Select Cost Accounts Only
- Select Balance Sheet Only
- Selected Accounts
You can quickly select cost accounts or balance sheet accounts only from the buttons at the top of the screen, or else select any accounts you want and move them to the right side to select them using the Arrow buttons (or arrow keys on your keyboard). As usual the white fields above the columns can be used to filter down the records underneath them to only those that match what you type in.
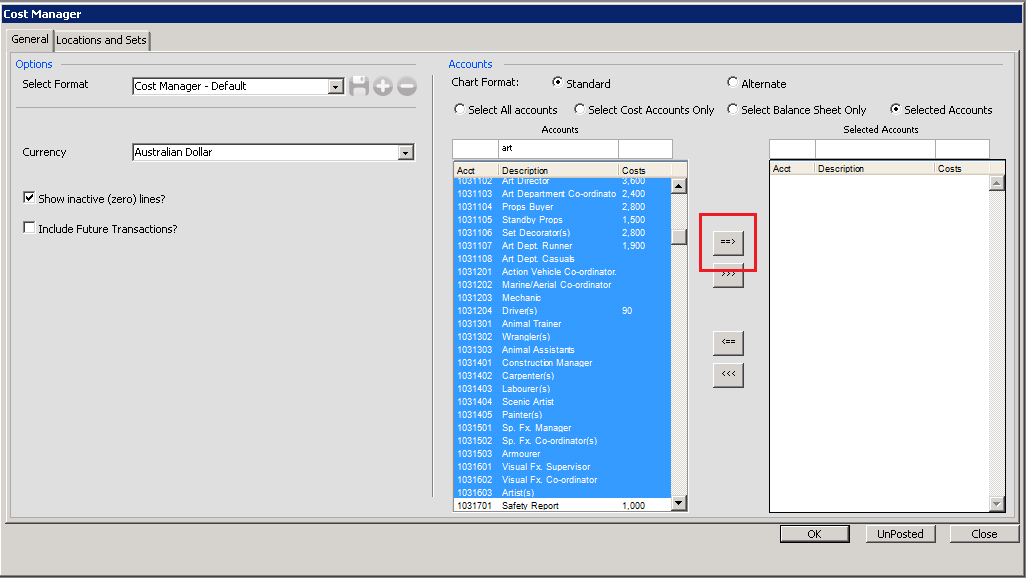
5. Once you have made your selection you need to click on the “+” icon (as indicated below)
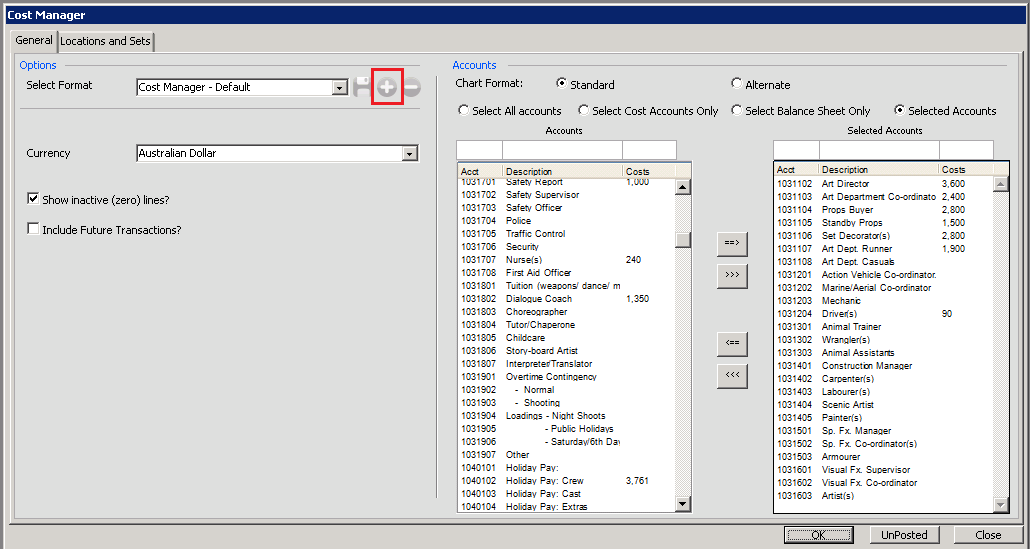
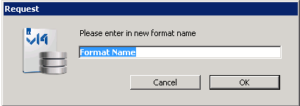
This will bring up the following box which will allow you to name the new format
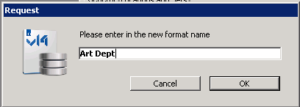
6. Once you have name the new format you then need to click the Save icon (as below)

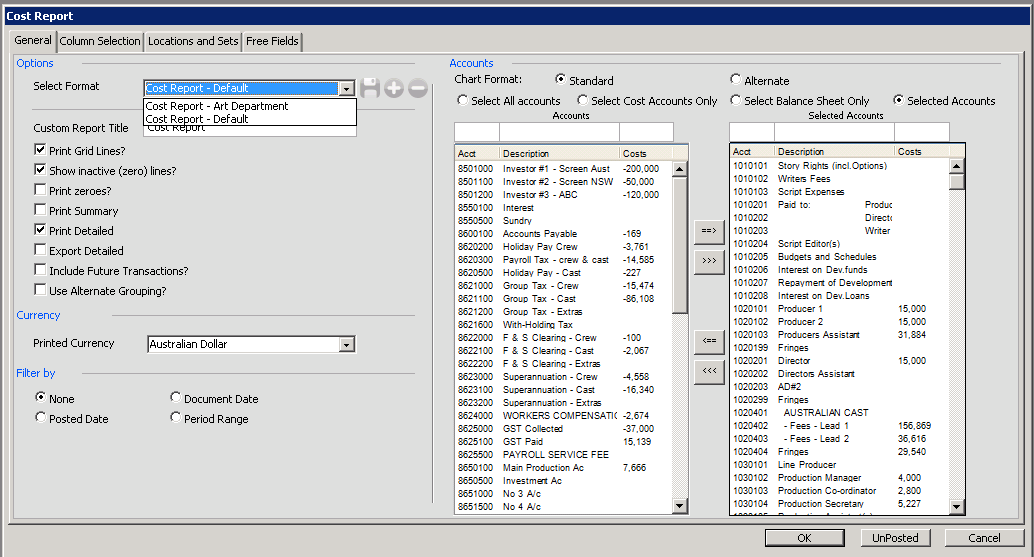
The new format is now available in the drop down list

When you select this format and open the Cost Manager you will only see the accounts selected for this format. When you select this format via Cost Report then it will only print out these accounts selected for this format.
7. If you have created a new account that you want to include into any of the formats then all you need to do is select the format, move the accounts over to the right and then click the Save icon (as below)
Via Custom Reports
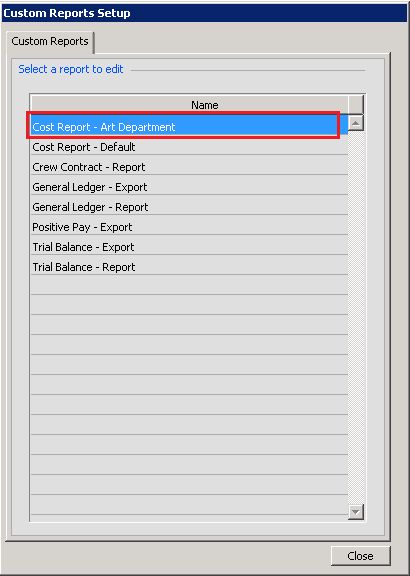
- Go to Setup>Custom Reports
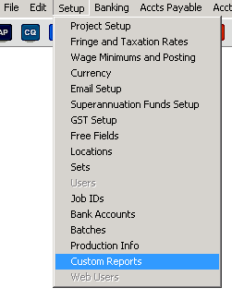
2. The following window will appear. Right click on Cost Report and select Duplicate
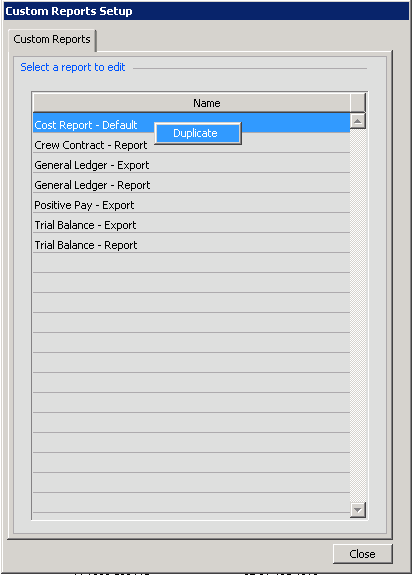
3. You will be asked to name the new format report
4. The new report will now appear in the list – as below.
5. The proceed as for Via Cost Manager/Cost Report
Please note if you have added an account code to the Chart of Accounts, you will need to go into Setup>Custom Reports and add this account into the Cost Report – Default or whatever report you want it to appear in – as below – otherwise it will not appear in the report.