
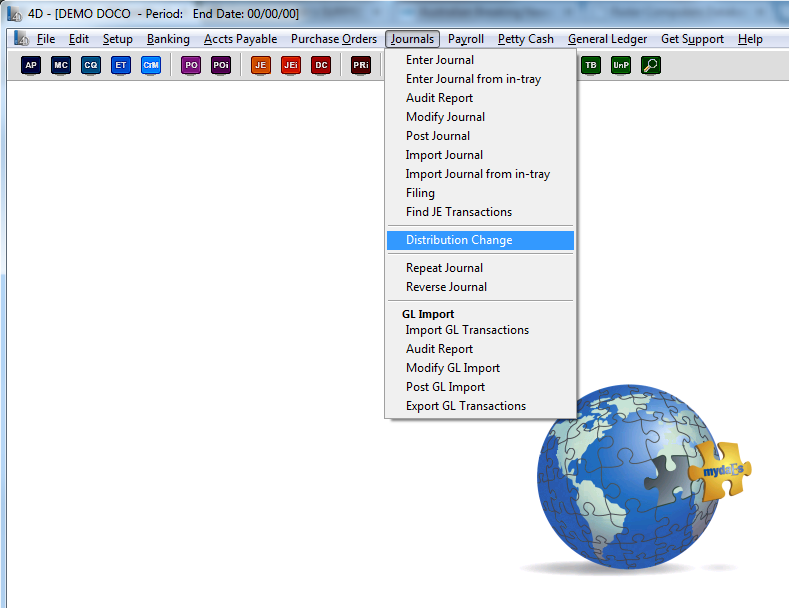
- To make a distribution change to posted transactions, please select distribution change from the ‘Journals’ menu.
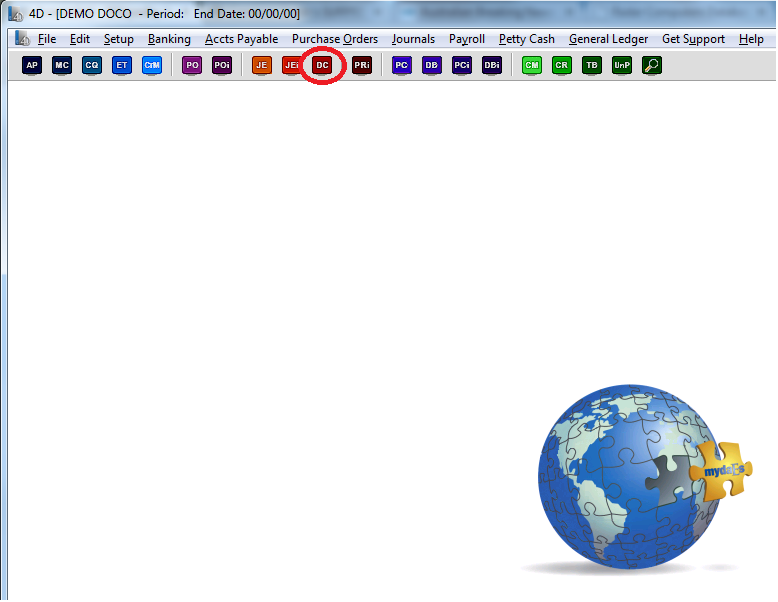
You can also open this form from the following toolbar icon.
2. You will then see the find transactions selection screen for you to locate exactly which entries you wish to edit.
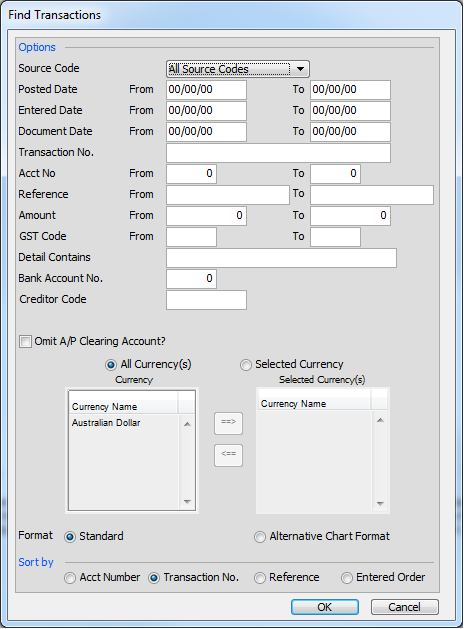
3. From the above you can select individual source codes ie Journals/petty cash etc, various date/account number/references/amount or transaction number ranges. You can also enter in part of the description or the bank account number or creditor/vendor codes. You can choose to omit the accounts payable clearing accounts, and specify which currencies should be returned. You can also choose to view onscreen the normal chart numbers or your third parties alternate chart numbers. The sort order can also be specified.
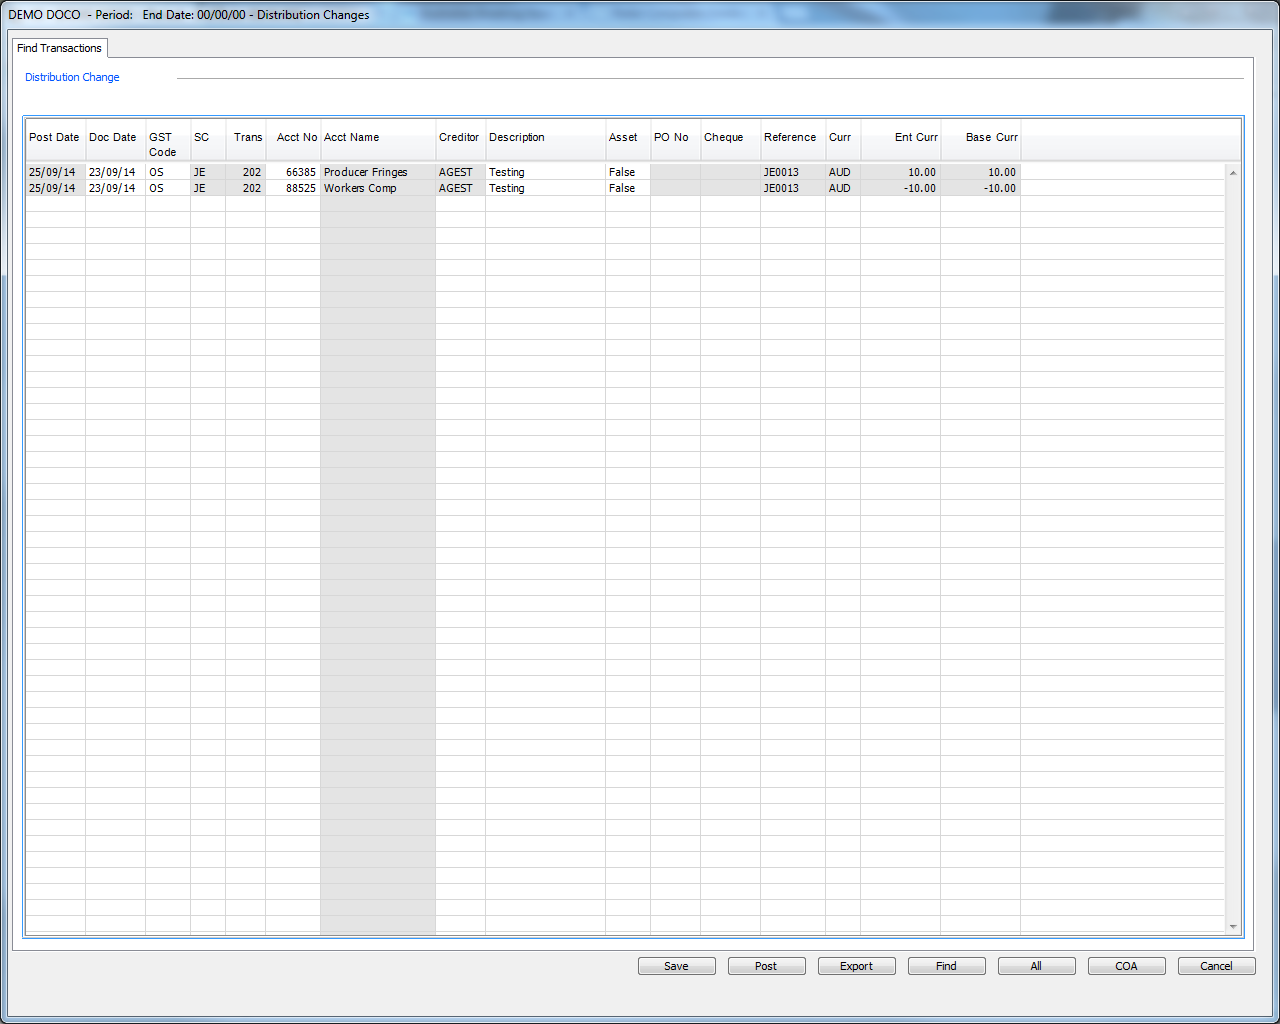
4. The following form will then be displayed showing all matching entries.
Please click on the image to view it full screen, then the back button to return.
5. The distribution change screen can behave differently depending on how it was setup for you when your project was started. You can choose how changes to any of the fields above are handled. You can either choose to write a journal after any change for a full audit trail of the changes, or perhaps some of the fields you may be happy to edit directly. The default setup is to have a distribution change in current period apply directly to the transaction and the distribution change to a prior period transaction create a journal. If you wish to vary this default please contact your mydaEs representative.
6. Any fields you can edit directly (with no journal) will be shown in white. Any fields that will create a journal will be in yellow, and any un-editable fields will be grey as usual.
The columns visible above will also differ depending on your setup ie if you are using locations/sets/free fields etc on your project.
7. You can right click any of the lines onscreen to ‘split’ the transaction. You can then alter the split of the money. The totals must remain the same of course.
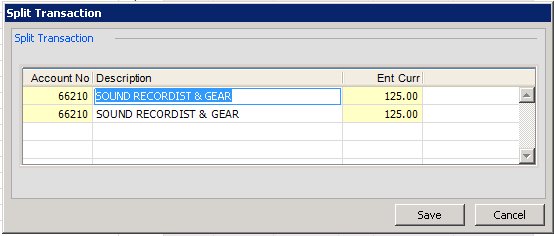
The same colouring applies here as on the main screen ie white fields apply changes directly, yellow fields will result in the journal being created that you can choose to post later. Any grey fields (not shown here) are not editable.
A split transaction will always create a journal.
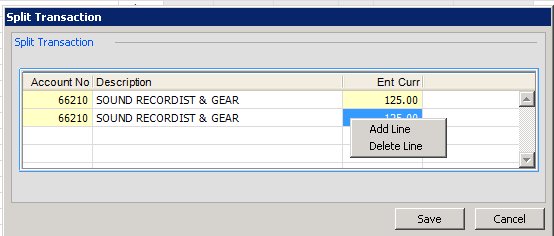
There are 2 further right click options here to add or delete a line, so you can split one transaction into multiple smaller amounts. Of course though the totals must remain the same.
At the bottom of the main screen here are a number of options where you can choose to save your changes (and any journals will need to be manually posted later), save and immediately post any journals, export all records on screen to a text file, find a new range of transactions to edit, show all transactions on screen or look-up the COA. For more information on the COA lookup please click here.
Settings
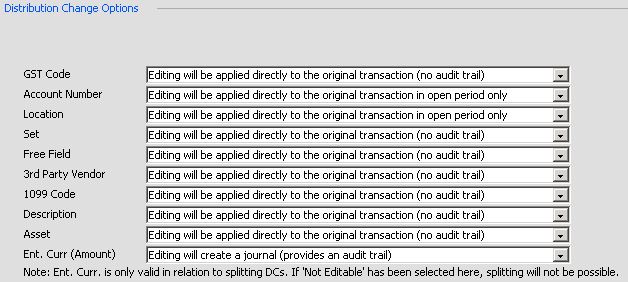 Each column available under distribution change can have its own setting from the below.
- Not Editable – This column will no longer be available to change.
- Editing will create a journal – Changes will always create a journal transaction to provide an audit trail.
- Editing will be applied directly – Changes will never create a journal and will always apply directly to the transaction.
- Editing will be applied directly in open period – Changes within the current period will not create a journal. Once the period has been closed, any further changes will always create a journal to provide an audit trail.
If you would like to make changes to your settings or would like to confirm the current settings, please contact support.