Purpose
This menu item is used to print a listing of your posted entries. There are multiple options to filter down your transactions to print only those you desire.
How to use
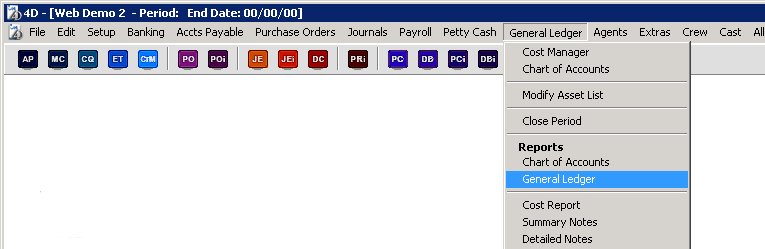
To print the report, select ‘General Ledger’ from the ‘General Ledger’ menu as shown below.
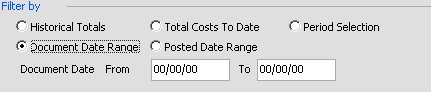
You will then be presented with the following screen from which you can limit the entries that will be displayed.
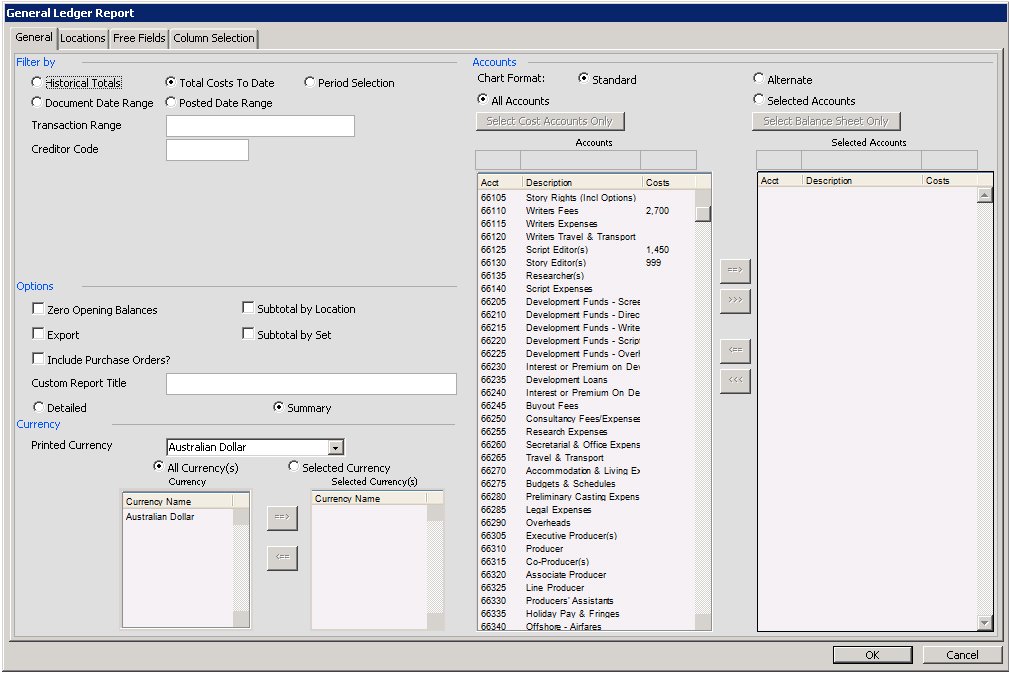
As you can see there are multiple options available to you to control what will print on the report.
You can choose to display the ‘Historic totals’, or ‘Total Costs to Date’ formats of the report, with which you can filter it further by entering in the transaction range or creditor/vendor code.
You can also filter the report by choosing which periods to display as shown below.
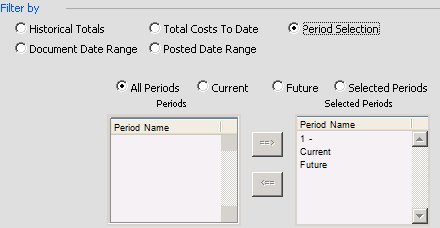
Here you can select exactly which periods you wish to view. You can quickly pick the current or future period, or else select exactly which periods you require.
If you choose the ‘Document Date Range’ or ‘Posted Date Range’, you can then enter in a from/to date range.
A number of options are now available as follows. Not all though will be visible depending on how your project is setup.
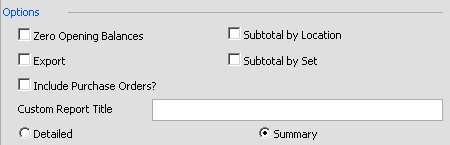
You can choose to display zero-ed opening balances, export the data, include purchase orders on the report, or if you have locations or sets on the project have them subtotaled on the report.
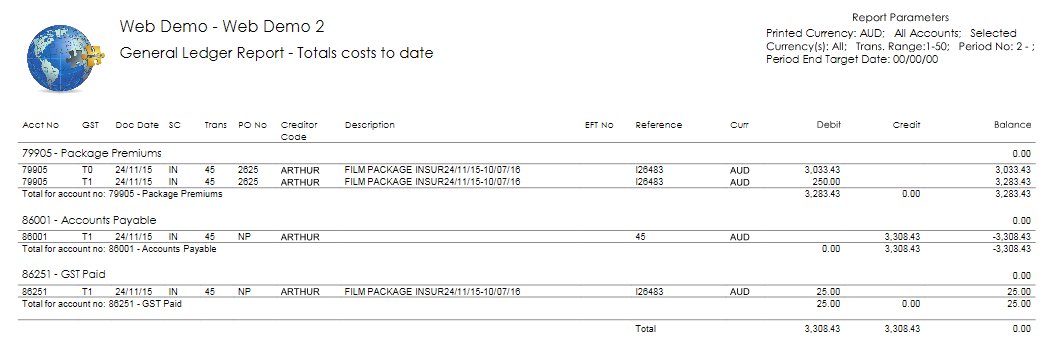
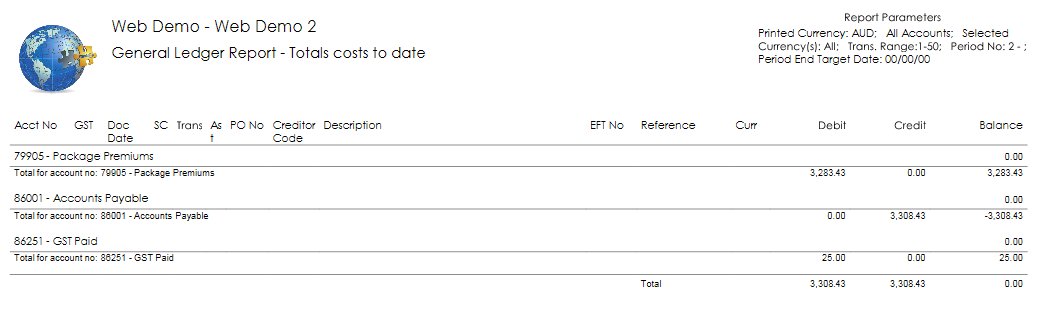
You can add in your own report title, should you wish it to shown certain text at the top of the report. You can also choose a detailed or summary format of this report. The summary report will only print the header and total line for each account number as shown below.
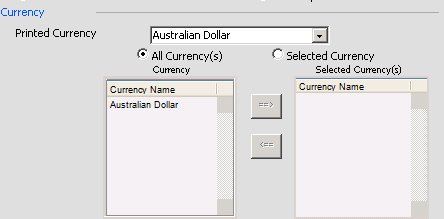
The currency options allow you to choose in which currency the report will print in as well as allowing you to filter the report to only display those entries created in a particular currency.
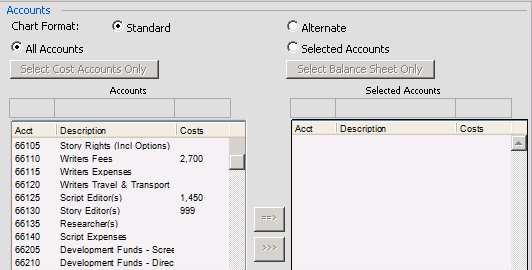
The account selection options include the ability to choose between the standard or alternate account numbers, as well as filtering down which accounts display on screen. You can quickly choose your cost accounts or balance sheet accounts by pressing the buttons. Once you choose the ‘Selected Accounts’ radio button, you can select individual account numbers below it to move across to the ‘Selected Accounts’ grid to print on the report.
If Locations and/or sets are in use on the project, you can choose which locations or sets to display from the ‘Locations’ or ‘Sets’ tabs. Please note these may be called ‘Episodes’ or ‘Sub accounts’ on your project.
The ‘Locations’ tab looks as follows.
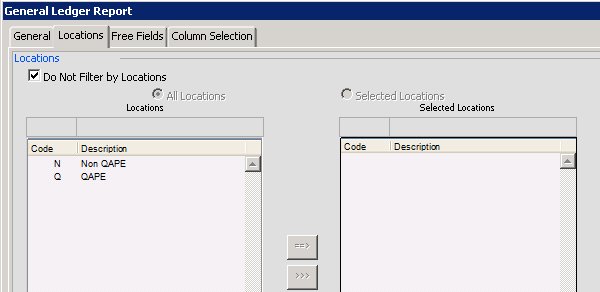
The default value is to ‘Do Not Filter by locations’, ie display the data whether locations are there or not. if you un-tick this, only transactions containing the chosen locations will print.
The ‘Sets’ tab looks as follows.
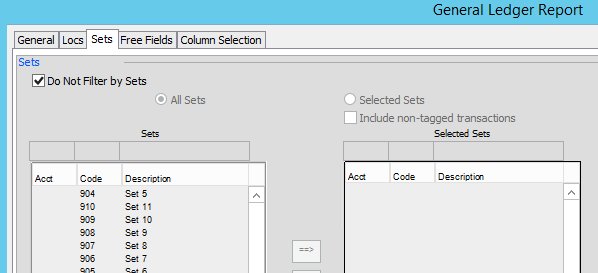
Once again the default value is to ‘Do Not Filter by Sets’ ie display the data whether sets are there or not. If you un-tick this only transactions containing the chosen sets will print. However if you also tick ‘Include non-tagged transactions’ any transactions without a set can also display. This can be useful to locate entries where you may have forgotten to include a set.
The ‘Free fields’ tab looks as follows.
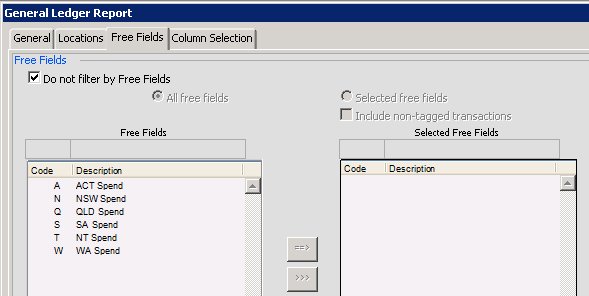
Once again the default value is to ‘Do Not Filter by Free fields’ ie display the data whether free fields are there or not. If you un-tick this only transactions containing the chosen free fields will print. However if you also tick ‘Include non-tagged transactions’ any transactions without a free field will also display. This can be useful to locate entries where you may have forgotten to include a free field.
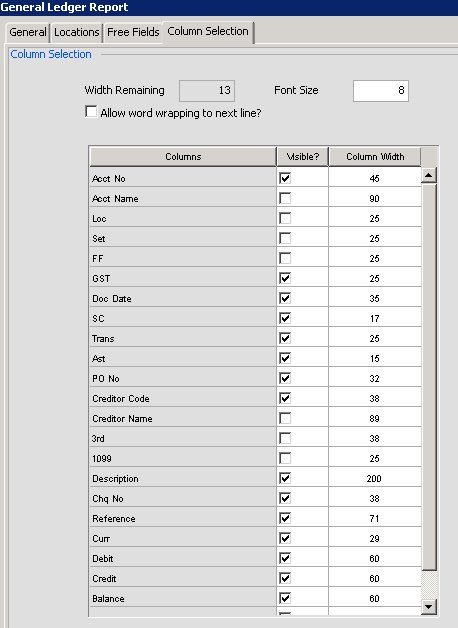
The ‘Column Selection’ tab looks as follows.
Or if you have chosen to ‘Export’ the general ledger it will look as follows.
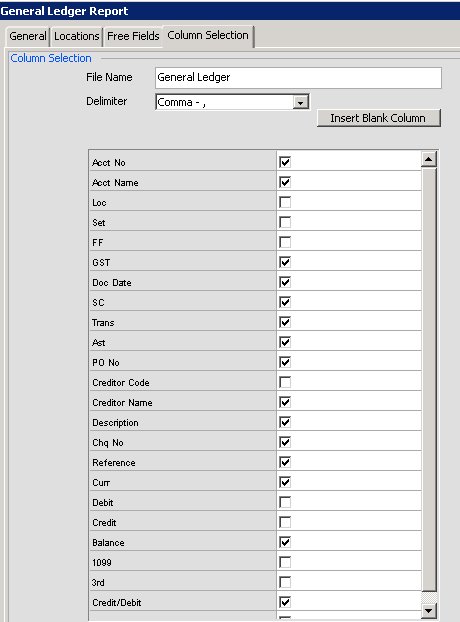
This allows you to further customize exactly what columns will display or export. You can also choose the order of columns, by dragging and dropping them. You can choose the font size, whether you want the content in the columns to wrap to another line and if it is an export you are creating the name of the file as well as what field delimiter to use ie comma/tab/tilde or pipe.
As this can be tedious re-setting up the report every time you wish to print it. You can save your chosen default format by using the Custom Reports menu option.
Once you have finished making your selections, press the ‘OK’ button and the report or export will be created. Obviously the report can look very different depending on the many options above, so below is just one of them.