
Purpose
The ‘Create PO’ option from Moneypenny Web is used to create POs. It is only available to workers that have been specifically given this right in their wages master file screens. You can choose in their master files whether or not the user is allowed to enter in account codes/locations/sets etc and approvers must be configured for all users who will be entering in POs before they will be able to use this facility
How to use
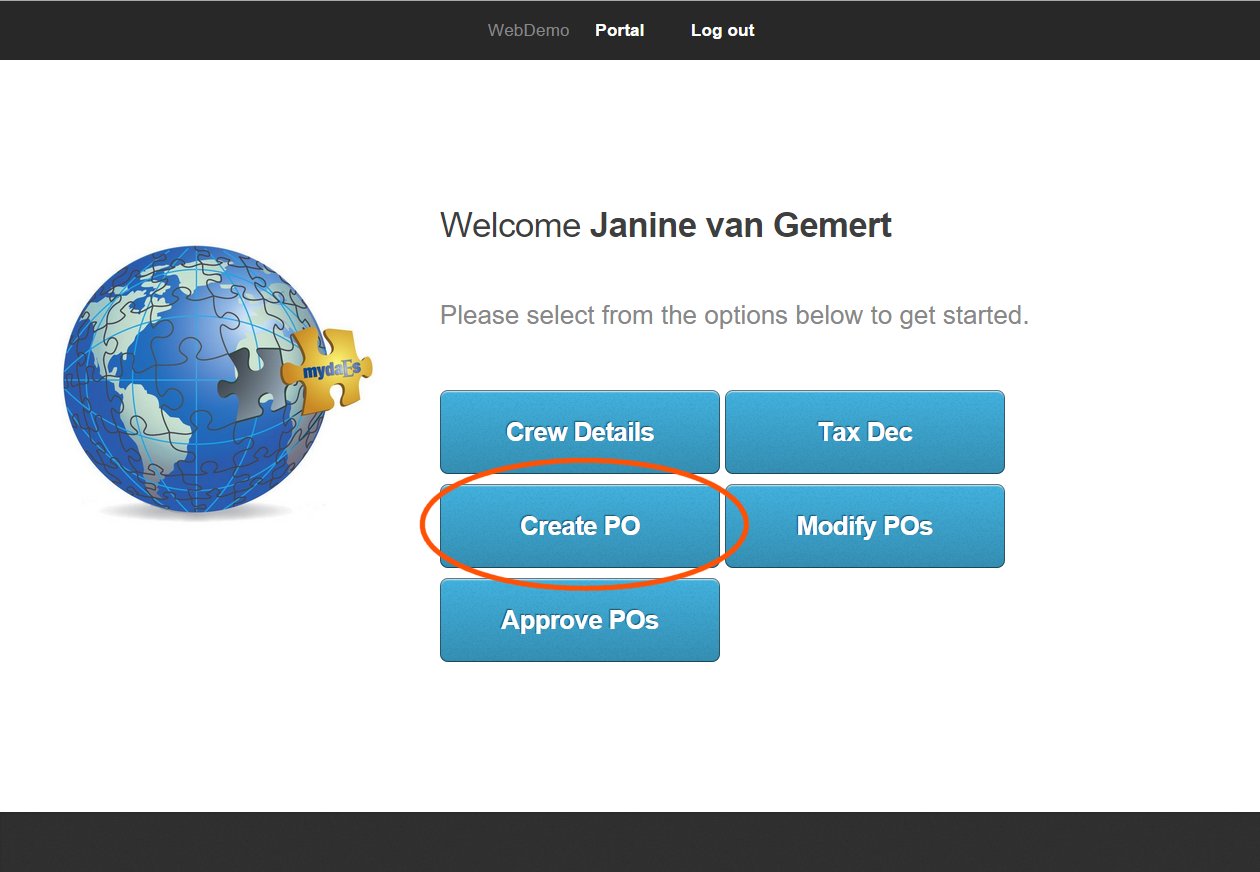
To create POs, log into your projects website from either your smart phone/tablet or computer and then click ‘Create PO’ as shown below.
The below entry page will now appear. Please note it will look different in different countries around the world based on their local requirements.
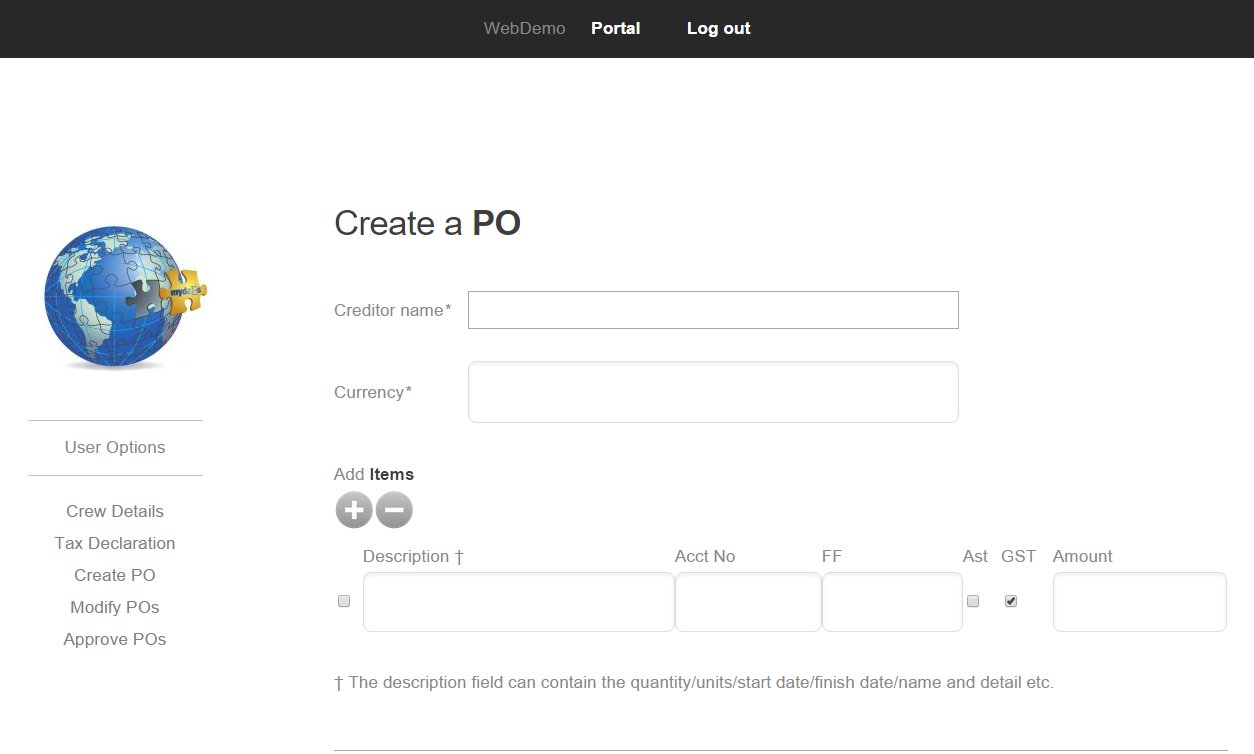
NB: It will look different depending on whether you are viewing it from a tablet/Smart phone or desktop. The fields though will be similar on each.
The creditor name is a combo box of all existing creditors in your project. You can always just type in a new one there though.
The currency is a drop down where you can select the applicable currency.
The next section (‘Add Items’) can be used to add in multiple lines to the PO, just keep pressing the + button to add in extra lines. If the creator of the PO has not been allowed to enter in account numbers etc, those fields will not be available to them.
GST/VAT will only be available in one of the currencies on the project requires GST to be entered. Please tick it to link to GST code of T1 and leave un-ticked for T0 GST Free.
The description field can contain quantities/units/start dates/finish dates/name and any detail about the purchase.
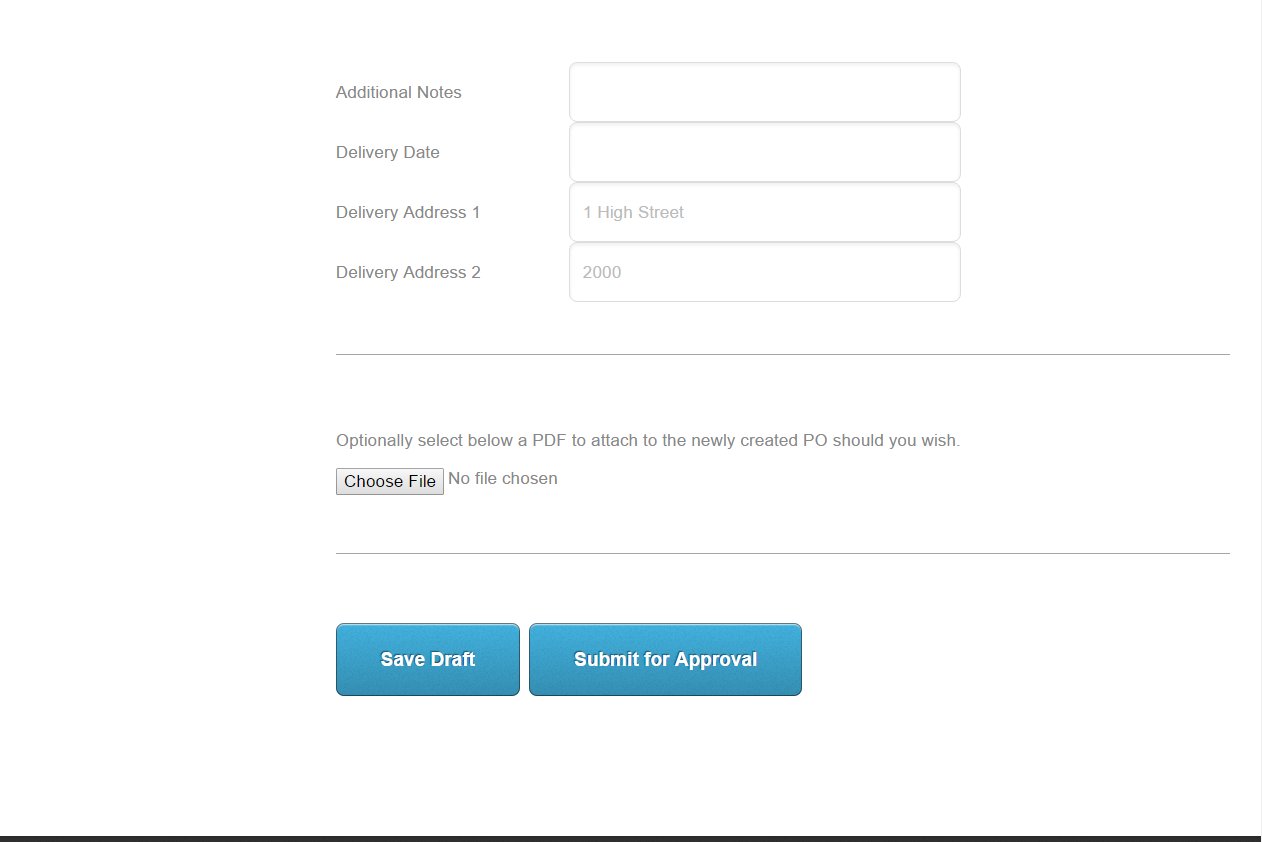
Below the line you will see an opportunity to enter in any additional notes or specify a delivery date. The delivery address will default from the address of the project in Moneypenny.
You can also choose to upload an attachment to support the creation of this PO, which can then be later viewed inside of mydaEs and will be emailed out to the approvers during the approval process.
You can choose to just save a draft of this PO by pressing the ‘Save Draft’ button, which can then be altered later by going to ‘Modify PO’. The other option is to submit this PO to your approvers by pressing the ‘Submit for Approval’ button.
Please note an email will immediately be sent to your first level approver giving them a link to immediately approve this PO should they wish. It will then be passed on to your higher level approvers until it is fully approved.
Once the PO has been approved an email will be sent to you with a copy of the PO to forward to the supplier if you wish. Please note that the GL account codes for the items are not visible on the printout. If you wish to know which GL account codes the line items have been assigned too, request a Purchase order detail report from your Production Accountant
We have two videos which cover the information above
Summary video –
Full video –