
Purpose
The ‘Modify Web Entered POs’ menu item is used to view/edit and post the POs entered by your staff via the website. As the accountant you can also override the approval process if it proves necessary and immediately approve a PO, then enter in any information the creator of the PO missed then post it.
How to use
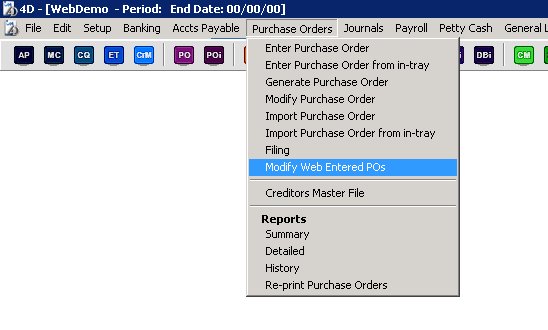
To view your web produced POs please select ‘Modify Web Entered POs’ from the ‘Purchase Orders’ menu.
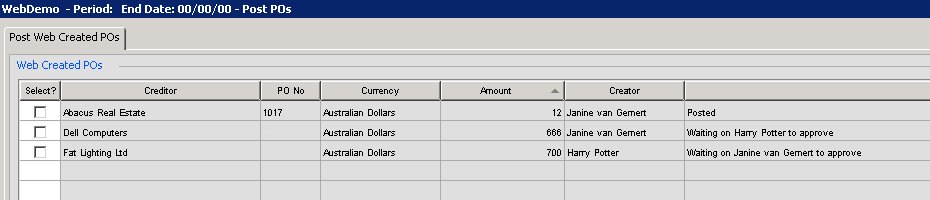
You will then be presented with the following screen allowing you to view all web entered POs that have not yet been posted.
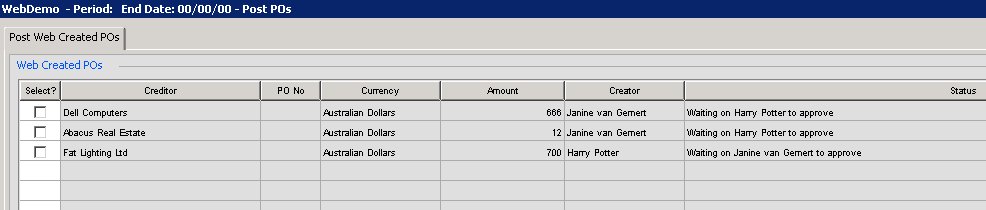
In the above we can see 3 POs that are not yet posted and therefore not affecting your cost report. The first was entered by Janine, and Harry is her first approver. She may have multiple approvers that the PO must go through before the PO will show that it is ‘Fully Approved’. At the moment though Harry has received an email telling him he needs to approve this PO. He can of course choose to decline. This part of the process happens entirely on the web and through emails for the approvers convenience.
As usual you can click on the column headers to sort those columns to assist you in finding the records you wish to view/edit.
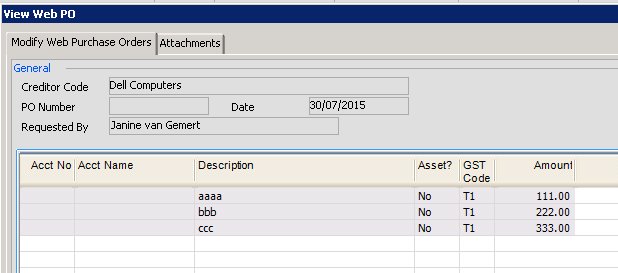
You can double click on each PO to view it in more detail however you cannot edit a Web PO from here until it has been fully approved.
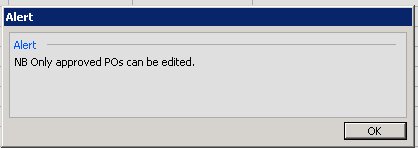
If you attempt to edit an un-approved PO you will see the below message.
The PO will then open, however all the fields will be greyed out.
If for some reason you need to bypass Harrys approval, and any other higher level approvers and immediately approve this PO, you can select the PO by clicking the check box in the ‘Select’ column and then press the ‘Approve’ button at the bottom of the screen.

If you wish to approve more than one at a time, you can of course click the ‘Select’ check box on each of them, or else you can use the mouse to select a record then hold downthe Shift-Click keys while clicking a second PO, to select all POs between the two clicks, or else use the Alt-Click keys to individually select (or unselect) multiple POs, before right clicking and choosing ‘Mark as selected’ as shown below.
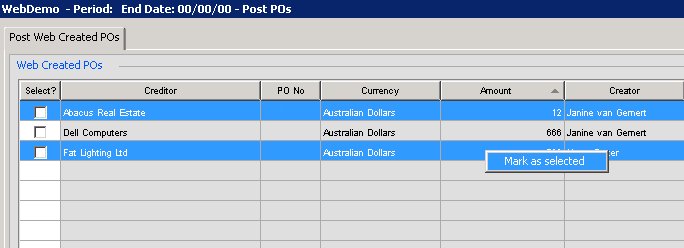
You can then approve multiple POs at a time.
Once a PO is approved, you may see the status column change to ‘Missing information’ as shown below.
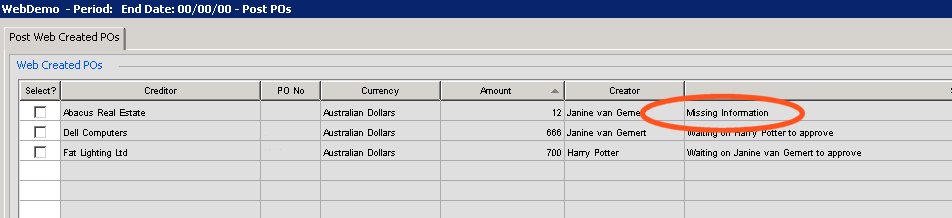
This means that the web user did not enter in all fields (or perhaps is not allowed to enter in all fields such as account numbers etc). Changes now need to be made before this PO can be posted. Double click the entry to edit it.
The fields are now all enterable, and as usual, any fields in blue are missing and need to be entered, and should there be any incorrect entries, they will show in red.
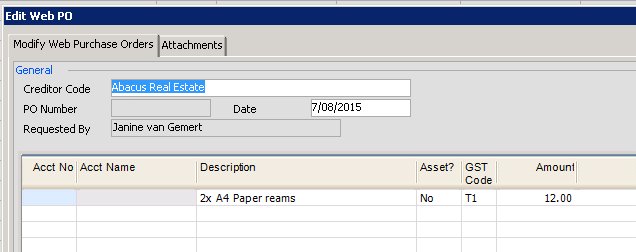
In the above the account number is missing. Just enter it and then save the record.
The PO will now show that it is ready for posting as shown below.
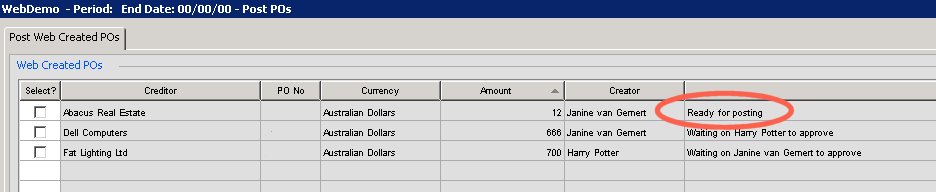
Just select that PO (using one of the methods mentioned above ie click select, or shift-click/alt click combined with the right click option) and then press the ‘Post’ button at the bottom of the screen.
A PO number will now be assigned.
This PO can now no longer be edited from here, as it has been posted, it can be modified from the normal ‘Modify PO’ menu.